
Ginger Piloncillo Holiday Cake

Stunner of a ginger piloncillo cake in warm late afternoon light.
The first life this cake lived was as an elaborate three-layer birthday cake. My boyfriend, who only ever wants to make me happy, said I could do what I wanted for his cake this year, and when I asked him how he’d feel if I were to decorate it by placing a concha atop like a crown, he said, “Tight, why wouldn’t you?”
He loves ginger so I knew I wanted to do something with the ground ginger from Diaspora Co. that I’ve had and loved since the summer. Gingerbread cakes were a different vibe than I wanted so I knew right away that I would be substituting the molasses commonly used in those for something else. But what? Initially I thought about honey, but then I realized that melting piloncillo, the sweetener also known as panela, a raw pure cane sugar that’s traditionally used in both sweet and savory Mexican dishes that I’ve been testing a bunch of recipes for would be an excellent choice. Piloncillo is my all-time favorite sweetener. It is commonly sold as a cone-shape block of what looks like firm brown sugar. Brown sugar it is not though. Piloncillo has a really wonderful earthy, slightly bitter caramel-ness to it that sets it apart from other sweeteners, and in this cake also contributes a lovely moistness to the crumb.

Typically one would grate or carefully chop the piloncillo cone with a serrated knife to then use in a recipe. It does take some elbow grease either way. Use the grated or chopped piloncillo for a 1:1 swap with brown sugar. Melting an 8 ounce cone-size of piloncillo is how I used the sweetener for this cake, both in the actual cake and with the leftover, as a syrupy-glaze to pour over the cake once it has cooled. I frosted the birthday cake with a dulcey ganache buttercream, which paired nicely with the ginger-caramel flavor in the cake. A second test of the now one-layer ginger cake was frosted with a piloncillo orange American buttercream (you can peep that version here). Ultimately I found that buttercream to be much too sweet, since I was just adding sugar (confectioner’s sugar) to more sugar (piloncillo); it also, sadly, covered the beautiful amber color of the cake. You will find that the piloncillo has a beautiful amber-honey color when melted that gives the cake the same look as the ginger cakes made with similarly-colored molasses.
The idea was to let the color of the cake shine as well as the piloncillo itself. This was a ginger piloncillo cake, after all. The one tablespoon of (cold) butter and basically splash of vanilla bean paste or extract is there in the syrup/glaze to help balance out the more bitter notes of the piloncillo. Piloncillo syrup is used a lot in tandem with buñuelos, a type of fritter where the syrup is poured over right before serving (here is a great Pati Jinich recipe for that). You could use piloncillo syrup anywhere you would use molasses or pancake syrup — over pancakes, ice cream, as a sweetener in coffee (cafe de olla!!), and of course to pour over a cake.

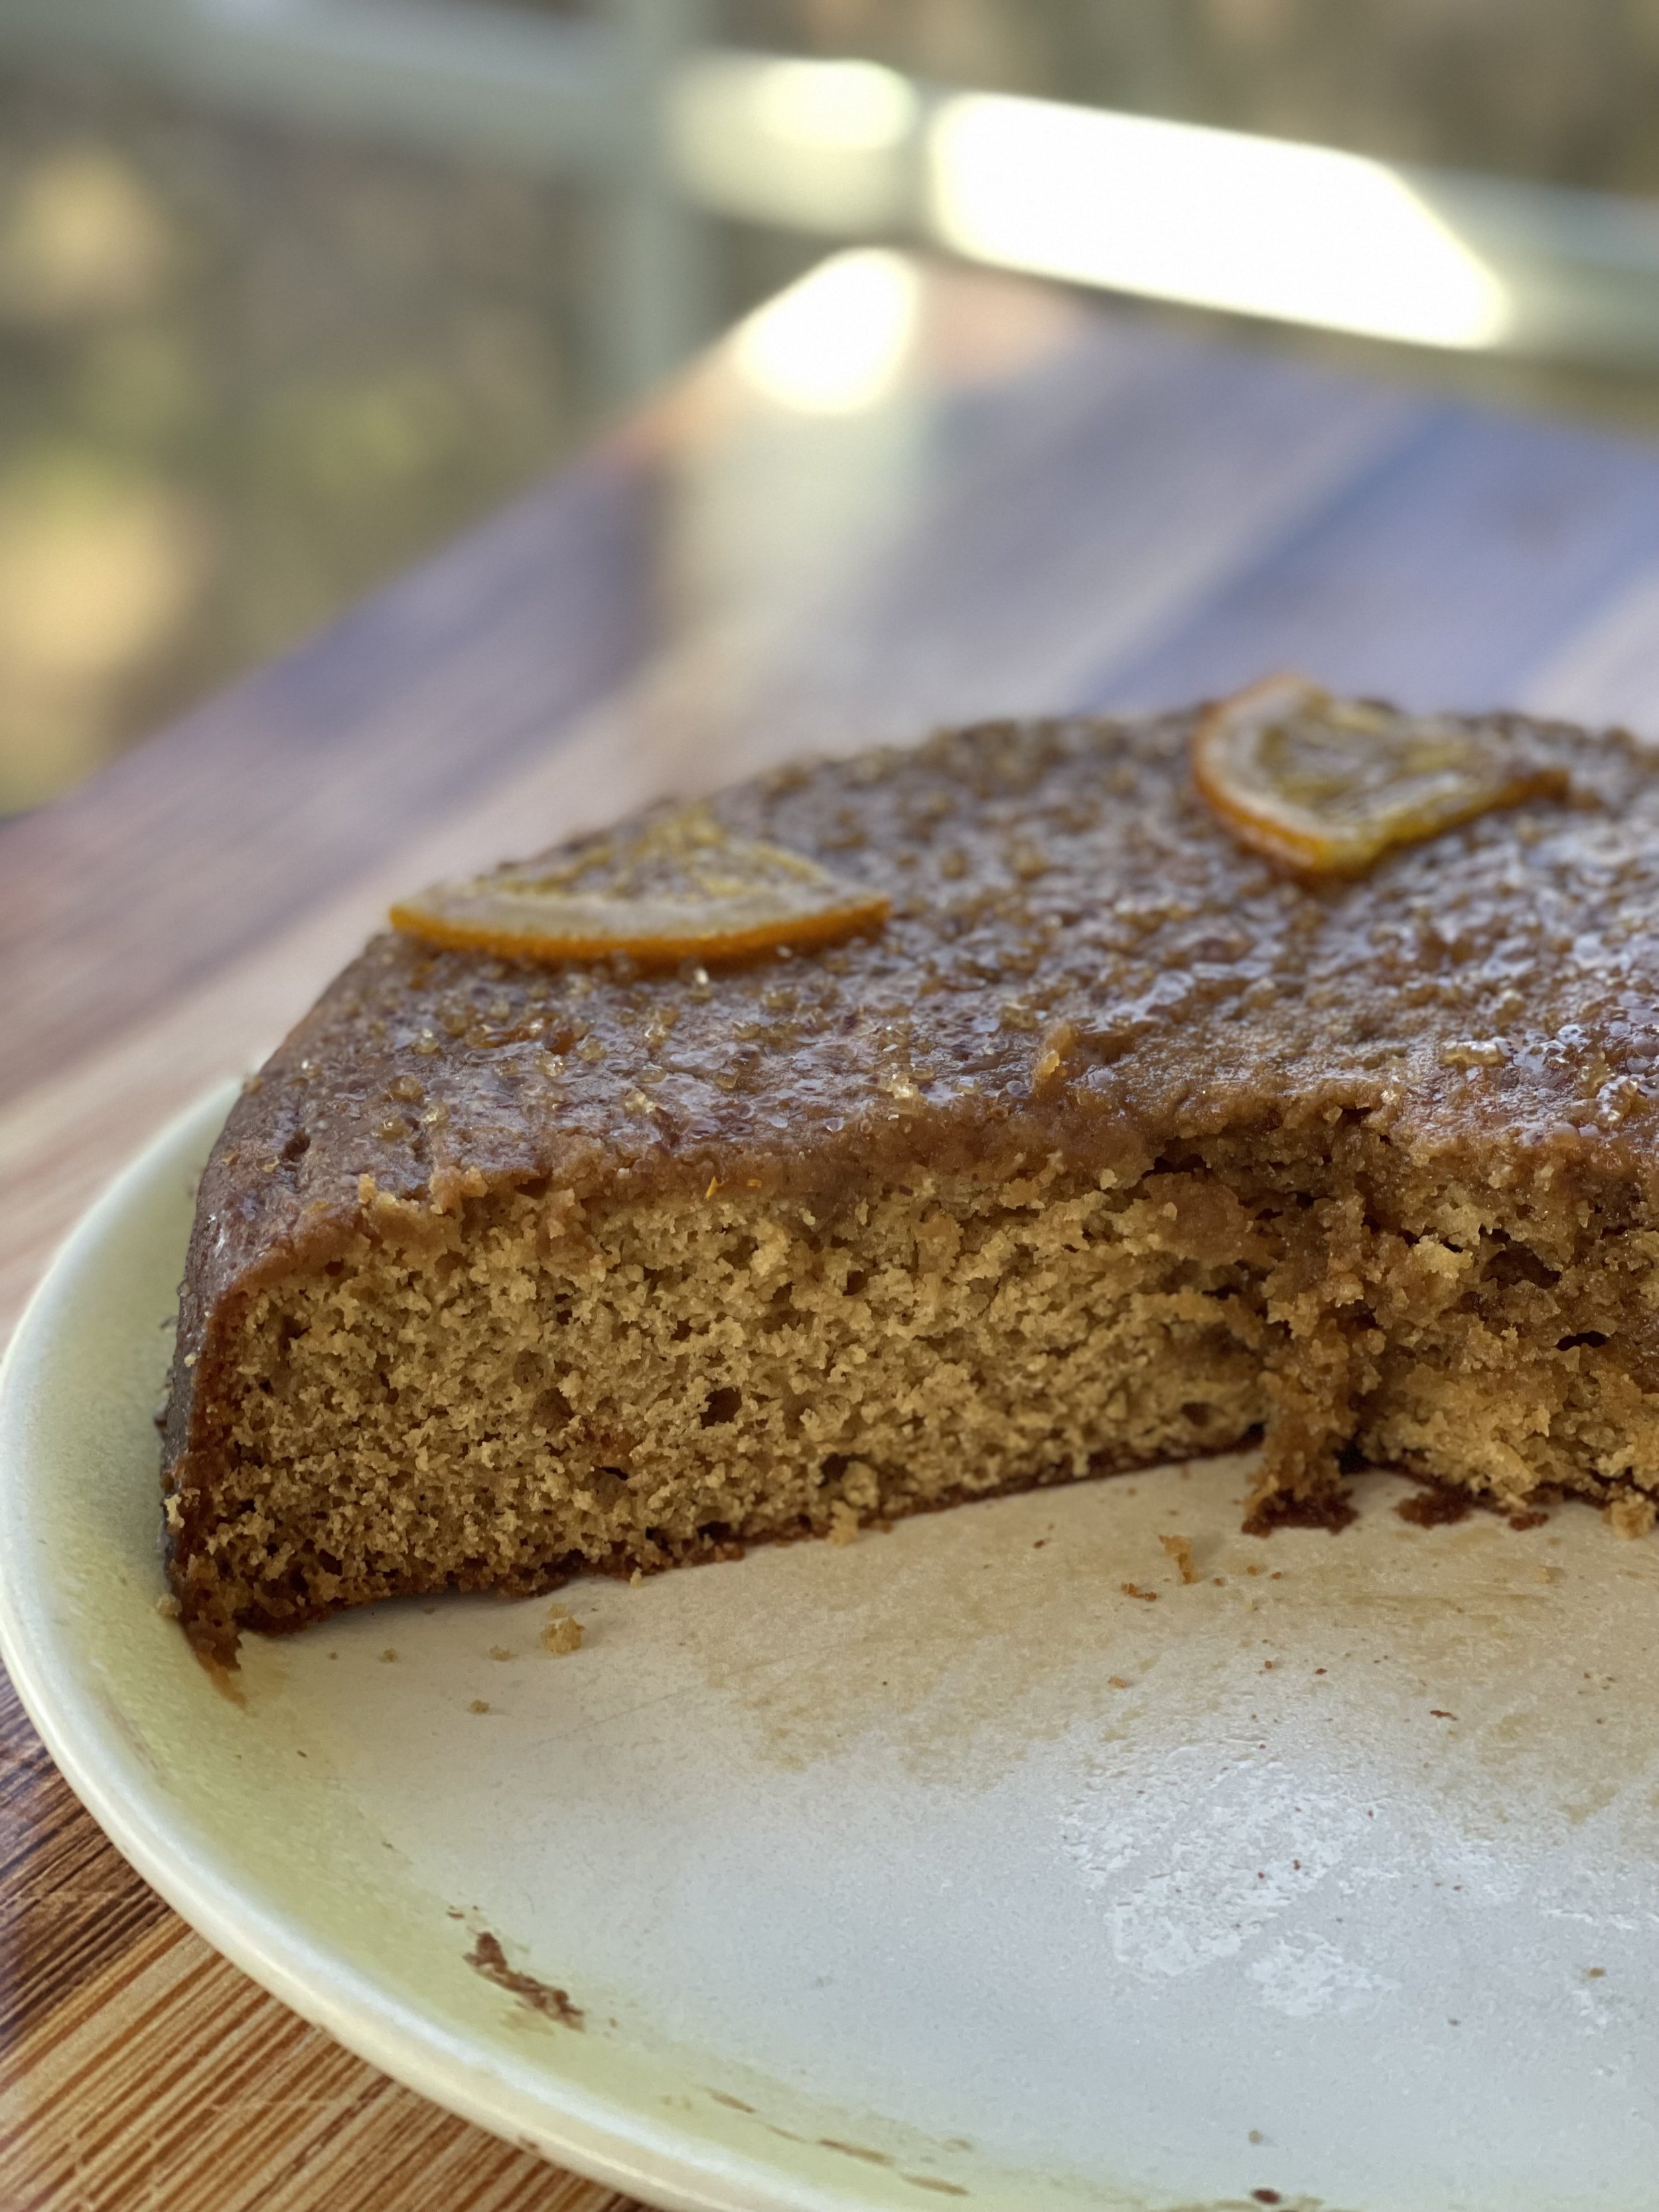

(The above two photos were taken on day three; the shine of the just-poured syrup-glaze is lost considerably over time but it makes the cake no less delicious.)
SUBSTITUTIONS:
Substitute the melted piloncillo for honey or molasses using the same measurements in volume (¾ cup).
Feel free to use granulated sugar in lieu of the orange nutmeg sugar, I would add more orange zest to the cake batter in that case. You can omit the orange zest in the piloncillo syrup and use it in the cake instead.
If you don’t have cake flour, substitute all-purpose. For every cup of cake flour, measure or weigh out 1 cup of all-purpose, then remove 2 tablespoons and return them to your flour container. So for this recipe, you could measure or weigh out 2 cups or 240 grams all-purpose flour, then remove ¼ cup (2 tablespoons x 2 = 4 tablespoons = ¼ cup). Somewhat annoying but you will live, I promise.
Equipment needed (this is a section I will start adding to all recipes going forward, with as many details as possible, as well as any substitions):
Two saucepans (one for the piloncillo syrup, second for browning the butter)
1 9-inch cake pan with at least 2-inch sides
Parchment paper or sheets
Two mixing bowls (one for dry ingredients, one for wet)
Wire whisk
Rubber spatula
Fine mesh sieve for sifting
Baking scale (or measuring cups/spoons - you will need 1 cup size, 1 teaspoon, 1/2 teaspoon, liquid measuring cup, 1/3 cup, 1/4 cup)
Zester/microplane for the orange zest
Final notes: I realize it is risky to ask you to make a whole cake with an ingredient that might be unfamiliar to you, but I do very much encourage you to seek out the piloncillo (it can be found in mercados or online). As for the price point, I’ve seen it advertised online anywhere from $13.59 for a pack of 3, to $4.95 for 16 ounces or two 8 ounce cones. So the price is higher than brown sugar which I wanted to make sure to bring to attention. At mercados it could probably be found for a lower dollar amount, especially because you wouldn’t have to pay for shipping.
This 1-layer cake would be a divine way to use a traditional holiday flavor (ginger) and make it something really special wth the addition of piloncillo. You can decorate it any which way you choose, I just really prefer the shiny glaze to a buttercream. I personally got very excited when I realized all the ways I could swap the sweeteners I use all the time for either grated or melted piloncillo. I’ll be writing more on piloncillo for The Takeout in the coming week, as well as developing a cookie recipe using grated piloncillo in place of brown sugar. As always if you have any questions or even if you would like to try piloncillo, don’t have extra money to spend on unfamiliar ingredients but REALLY want to try, shoot me an email or DM me on social and I will get some to you.
Ginger Piloncillo Cake
Yield: 1 (9-inch) single layer cake
Active time: ~25 minutes
Bake time: ~30-33 minutes
240 grams (about 2 cups) cake flour or all-purpose flour
3 grams (½ teaspoon) kosher salt
1 teaspoon baking soda
½ teaspoon nutmeg
½ cup (1 stick) unsalted butter
2 (8 ounce) piloncillo cones
4 grams (heaping ½ tablespoon) ground ginger
zest and juice from 2 large oranges or ½ cup bottled orange juice
8 ounces (1 cup) buttermilk, room temperature
76 grams (about ⅓ cup) orange nutmeg sugar, or granulated sugar
1 large egg, room temperature
Orange Piloncillo Syrup (to act as a glaze)
Yield: about 1 ½ cups
Active time: 10 minutes
Total time: about 20 minutes (10 minutes designated to let the syrup cool and thicken)
Remainder of orange piloncillo syrup (should be about 1 ½ cups)
Splash of hot tap water
1 tablespoon cold butter, straight from the fridge
1 teaspoon vanilla bean paste or vanilla extract
Salt, to taste
To make the cake:
Heat oven to 350F. Spray a 9-inch cake pan with at least 2-inch sides with cooking spray (or, use softened butter) and line the bottom with a parchment round.
Weigh out the cake flour and salt; measure the baking soda, ground ginger and nutmeg and whisk into the flour and salt to combine; Set aside.
Melt the piloncillo: In a saucepan set over medium-high heat, add both cones of piloncillo, ¼ cup hot tap water, the ground ginger, and the juice from the two oranges. Stir the piloncillo around frequently using a rubber spatula until it has melted completely into a syrup. This will take about 15 minutes over medium heat. Once the piloncillo has completely melted and you have a syrup, turn off the heat but let the saucepan remain on the warm burner while you continue on with the recipe. (If the syrup still seems a bit runny after 15 minutes, don’t worry, it will continue to firm into a more syrup consistency as it cools.)
Brown the butter in another saucepan set over medium heat. Once the butter has browned, immediately transfer it to a large mixing bowl and let it cool slightly, about 5 minutes.
Weigh out 161 grams of the piloncillo syrup (about ¾ cups) and add it to the browned, slightly cooled butter. Pour in the buttermilk and whisk everything together.
Add the orange nutmeg sugar or the granulated sugar into the butter/piloncillo syrup mixture, then whisk in the egg. (If the piloncillo was still quite hot when you added it to the browned butter, temper the egg first with a spoonful of the egg-piloncillo-buttermilk mixture.)
Set a fine mesh sieve over the mixing bowl now. Add the dry ingredients to the sieve and sift into the butter-piloncillo mixture.
Gently fold in the dry ingredients into the rest of the batter with a rubber spatula. Switch to a whisk after a few turns with the spatula, and give the batter a quick whisk to get rid of lumps (some lumps may remain and it’s fine).
Pour the batter into the prepared cake pan and bake for 30-33 minutes, or until a toothpick comes out of the center of the cake mostly clean (a few moist crumbs is fine as this cake is moist). Let the cake cool in the cake pan for 15 minutes, then transfer to a cooling rack. The cake needs to cool completely before glazing or frosting.
To make the glaze:
To the saucepan with the remaining melted piloncillo, add a splash of hot tap water and vanilla bean paste or vanilla extract. Set the flame to medium-high heat and stir frequently with a rubber spatula. When the syrup begins to bubble around the edges, lower heat to medium-low.
Let piloncillo orange syrup continue to heat through and thicken, about 10 minutes over medium-low heat. Add in the tablespoon of cold butter and salt, to taste. Be very careful when tasting the syrup, as it is extremely hot. I usually dip the very end of a spoon into the syrup and taste test that way. Please use caution here.
The syrup will bubble and foam the whole time it is over heat. Once you turn off the heat, the bubbles and foam will dissipate and as the syrup cools it will thicken/firm up. Turn the heat off now to let the syrup firm up a bit more in the saucepan before pouring over the cake. I’d give it a good 10 more minutes in the pan, still on the warm burner with the heat turned off before attempting to use it as a glaze. Remember you want a syrupy consistency so that it will easily enrobe the entire cake.
To glaze the cake:
Transfer the cooled cake and the cooling rack to a large sheet pan lined with a parchment sheet for easy cleanup. Starting at the center of the cake and working your way out towards the edges, pour the orange piloncillo syrup/glaze over the cake. You should have just enough syrup/glaze to cover the cake entirely.
Decorate the cake further with candied orange slices and a sprinkling of Demerara sugar, if desired. The cake will keep, covered, on your kitchen counter for up to four days.