
At Heart Panaderia Concha Guide
Even if you aren’t familiar with the whole list of Mexican pan dulce, you have probably heard of and hopefully tasted la concha. Arguably the most recognizable and popular pan dulce, the concha is frequently referred to as a “brioche dough with a crunchy cookie topping” scored to resemble a concha, or seashell. I think the former descriptor is rather Eurocentric, and while we can’t deny the role Europe/colonization/wheat has played in Mexican food, including pan dulce, I like to describe a concha to people who have never eaten one as being an enriched dough. An enriched dough is a category of bread dough that has a high concentration of butter, eggs, milk, and sugar, or some combination of these ingredients. Perhaps using the word enriched is not the best solution either, though. While brioche is a specific kind of bread that could technically describe concha dough, enriched is more of an umbrella term to me that can be used to describe challah, pizza dough, and even tortillas.
ENRICHED CONCHA DOUGH
The first thing to know about making conchas is that the dough is quite sticky, thanks to all those enriching ingredients. You do not have to go out of your way or budget to make delicious concha dough; use the butter, eggs, milk, sugar you have access to. (Of course, if you can use really good quality ingredients, concha dough is the time to do so. Not to be too Ina Garten with it.)
Typically when we make an enriched dough we use a standard mixing method of adding the butter in pieces towards the end of mixing, or when most of the gluten has already had a chance to develop. Concha dough is different. We add the butter at an earlier stage, right after mixing all the dry ingredients together. This allows the butter to coat the proteins in the flour that form gluten, making for a very soft, pillowy dough and final product. Adding the butter at the beginning of mixing instead of towards the end means that you won’t reach windowpane stage with this dough, no matter how long you mix.
I have made this concha recipe many times using both butter-adding methods and don’t really have a preference. For the sake of simplicity in this recipe we will be adding the butter at the beginning stage of mixing.
For the bakery I use a flour mix of unbleached bread flour + whole red wheat bread flour from a local Georgia wheat farm, which is what I used for the video. Again, for simplicity this recipe calls for 100% bread flour. If you’re comfortable mixing things up though I definitely recommend using a flour mix; any combination of bread flour(s) up to 500 grams will work. The orange zest in the dough doesn't add much orange flavor, it just adds a note of citrus and acidity that really balances out the rich ingredients.
Half a tablespoon of salt might seem like a lot, but bread can take it. In fact I find lots of bread recipes (enriched or not) do not call for enough salt, in my opinion.
You can make conchas without a stand mixer, just be ready for an arm workout. For the sake of this recipe, I am writing instructions that assume you have a stand mixer. If you do not, here is a video tutorial for mixing concha dough by hand.
It’s important to not add too much additional flour to your dough when mixing, no matter if mixing by hand or machine. You can add up to 1 tablespoon of flour, but I highly advise not adding any more than that as the extra flour can easily dry out your conchas. Remember that concha dough is supposed to be sticky; as you knead the dough further it will become easier to manage and handle.
It’s important to weigh the ingredients when baking and conchas are no exception. It’s equally important to weigh out each concha dough ball piece when dividing the dough; if all the conchas are the same size they will proof and bake evenly. Aim for 69-70 grams for each concha ball and about 25 grams for the topping pieces.
CRUNCHY CONCHA TOPPING
A mistake I made when developing this concha recipe last year was trying to get a lot of flavor in the dough itself. Enriched doughs are notoriously difficult to flavor; having to compete with the enriching ingredients means we are better off flavoring the crunchy topping. If you were to bake off the ingredients used in the concha topping, you would have basically made shortbread cookies. In the topping there is all-purpose flour for structure, either granulated or confectioner’s sugar for sweetening, and either softened, malleable butter or the more temperature-stable vegetable shortening, which provides the fat and helps hold everything together.
I typically will use vegetable shortening in my topping for the aforementioned reason that I don’t have to worry about keeping it stable, temperature-wise. If you choose to use butter, it will need to be soft—but not too soft. Think about the pliability of softened butter when making cookie dough, that’s the kind of “softened” you will be looking for when making the concha topping.
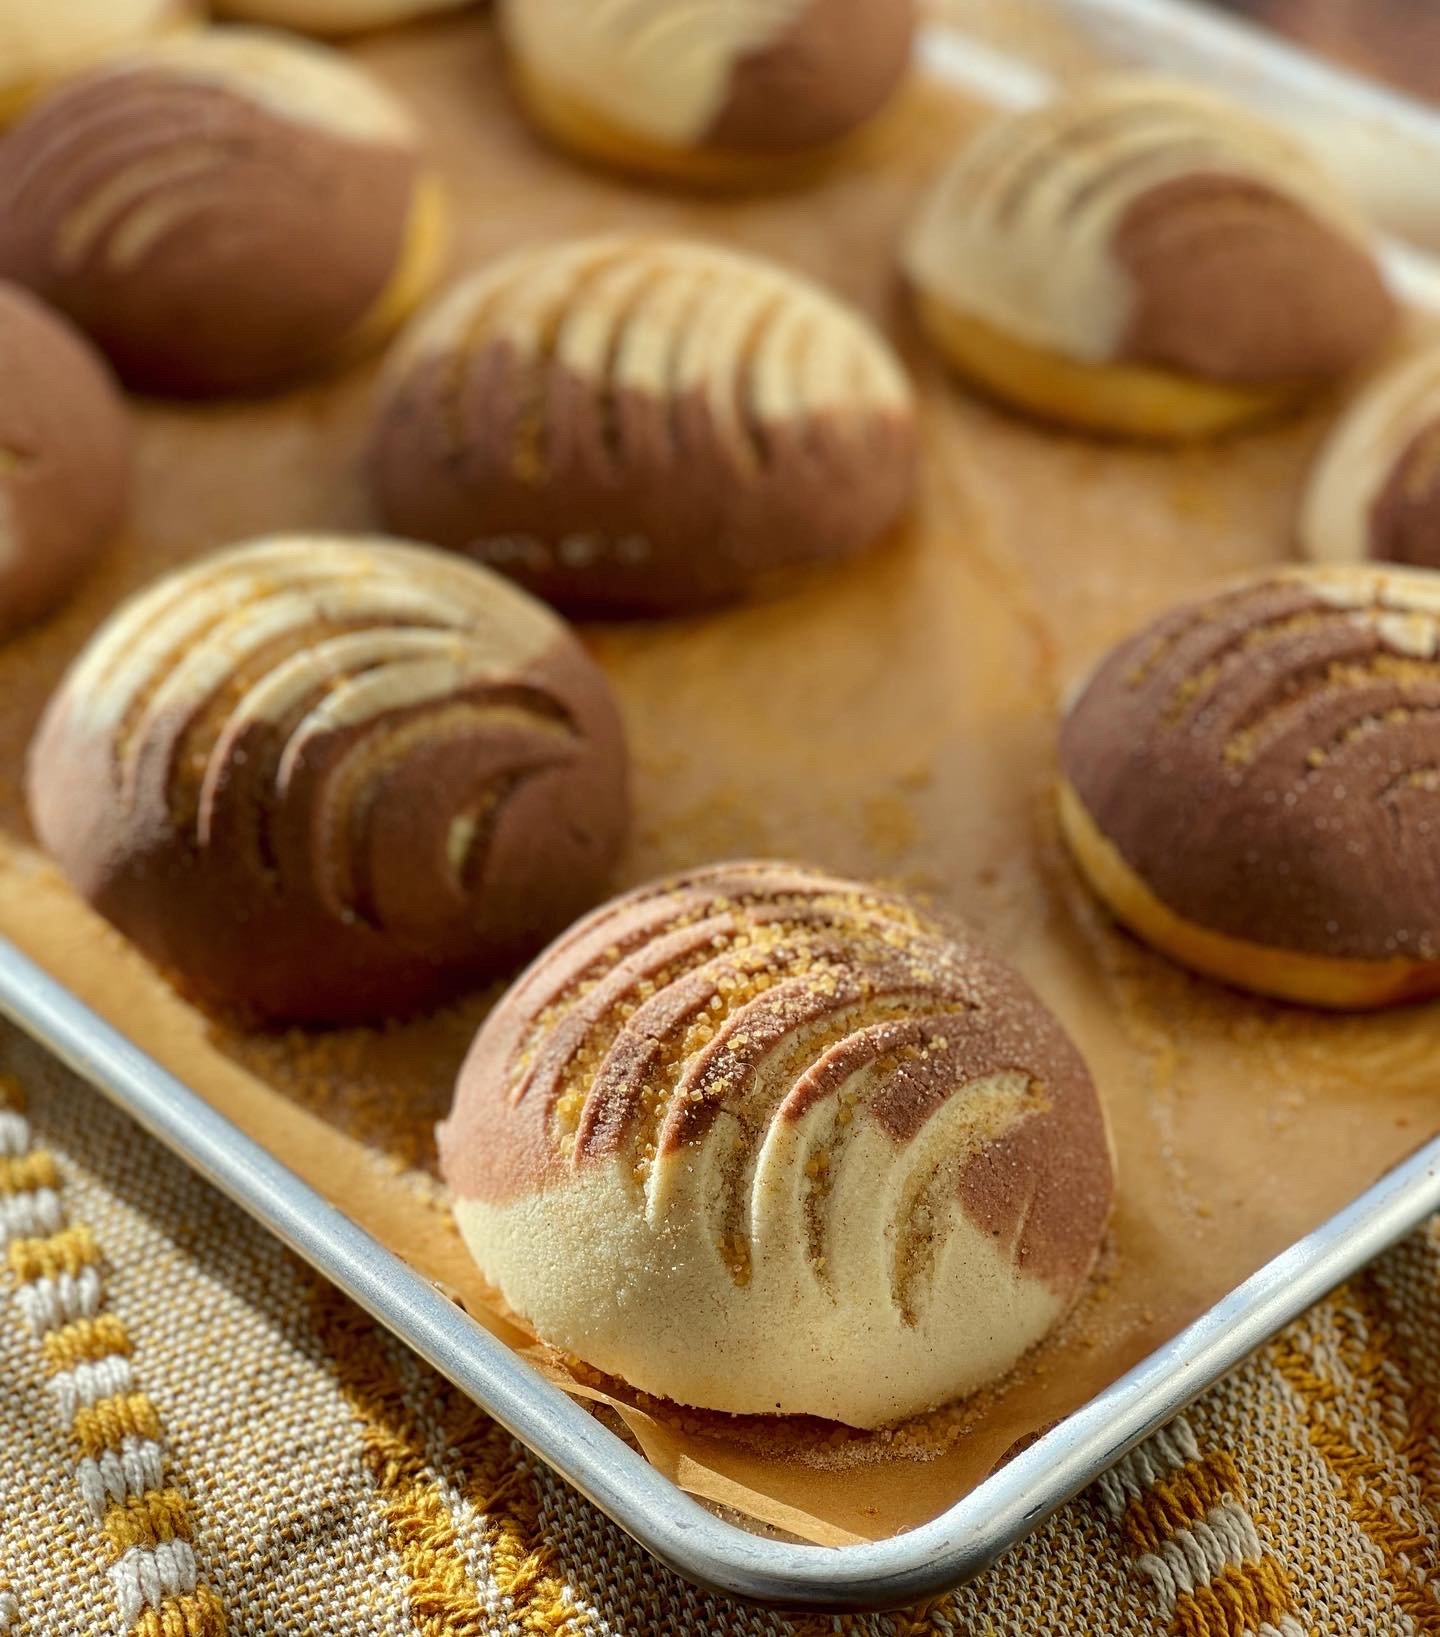
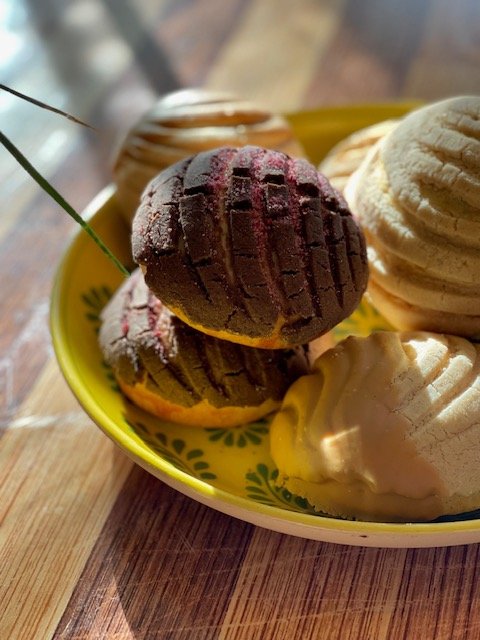
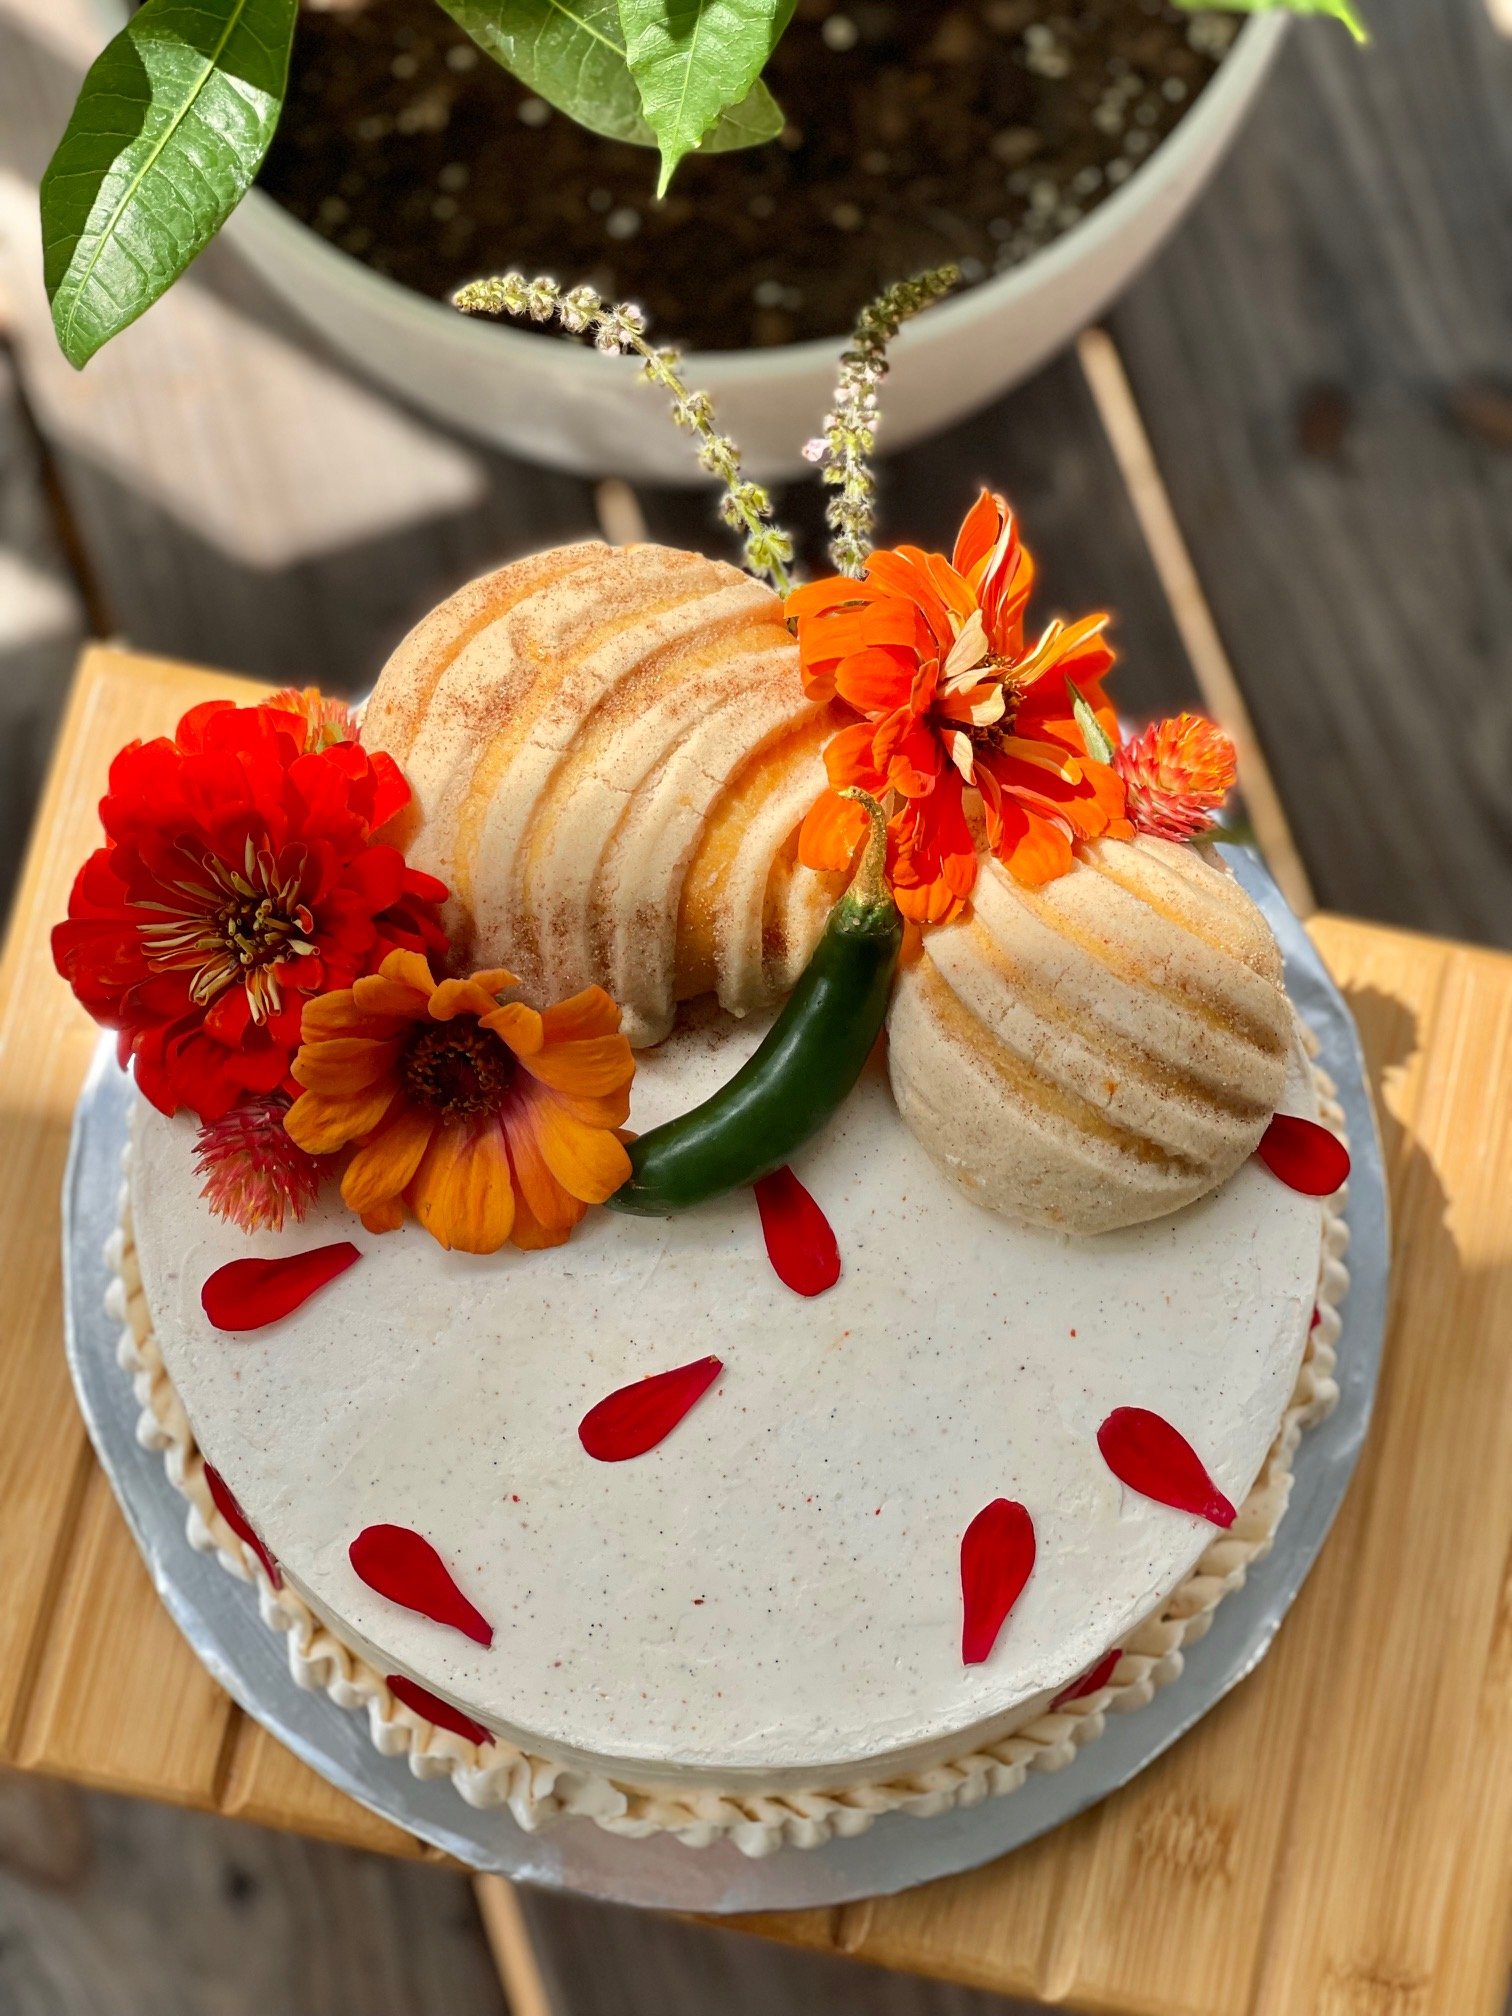
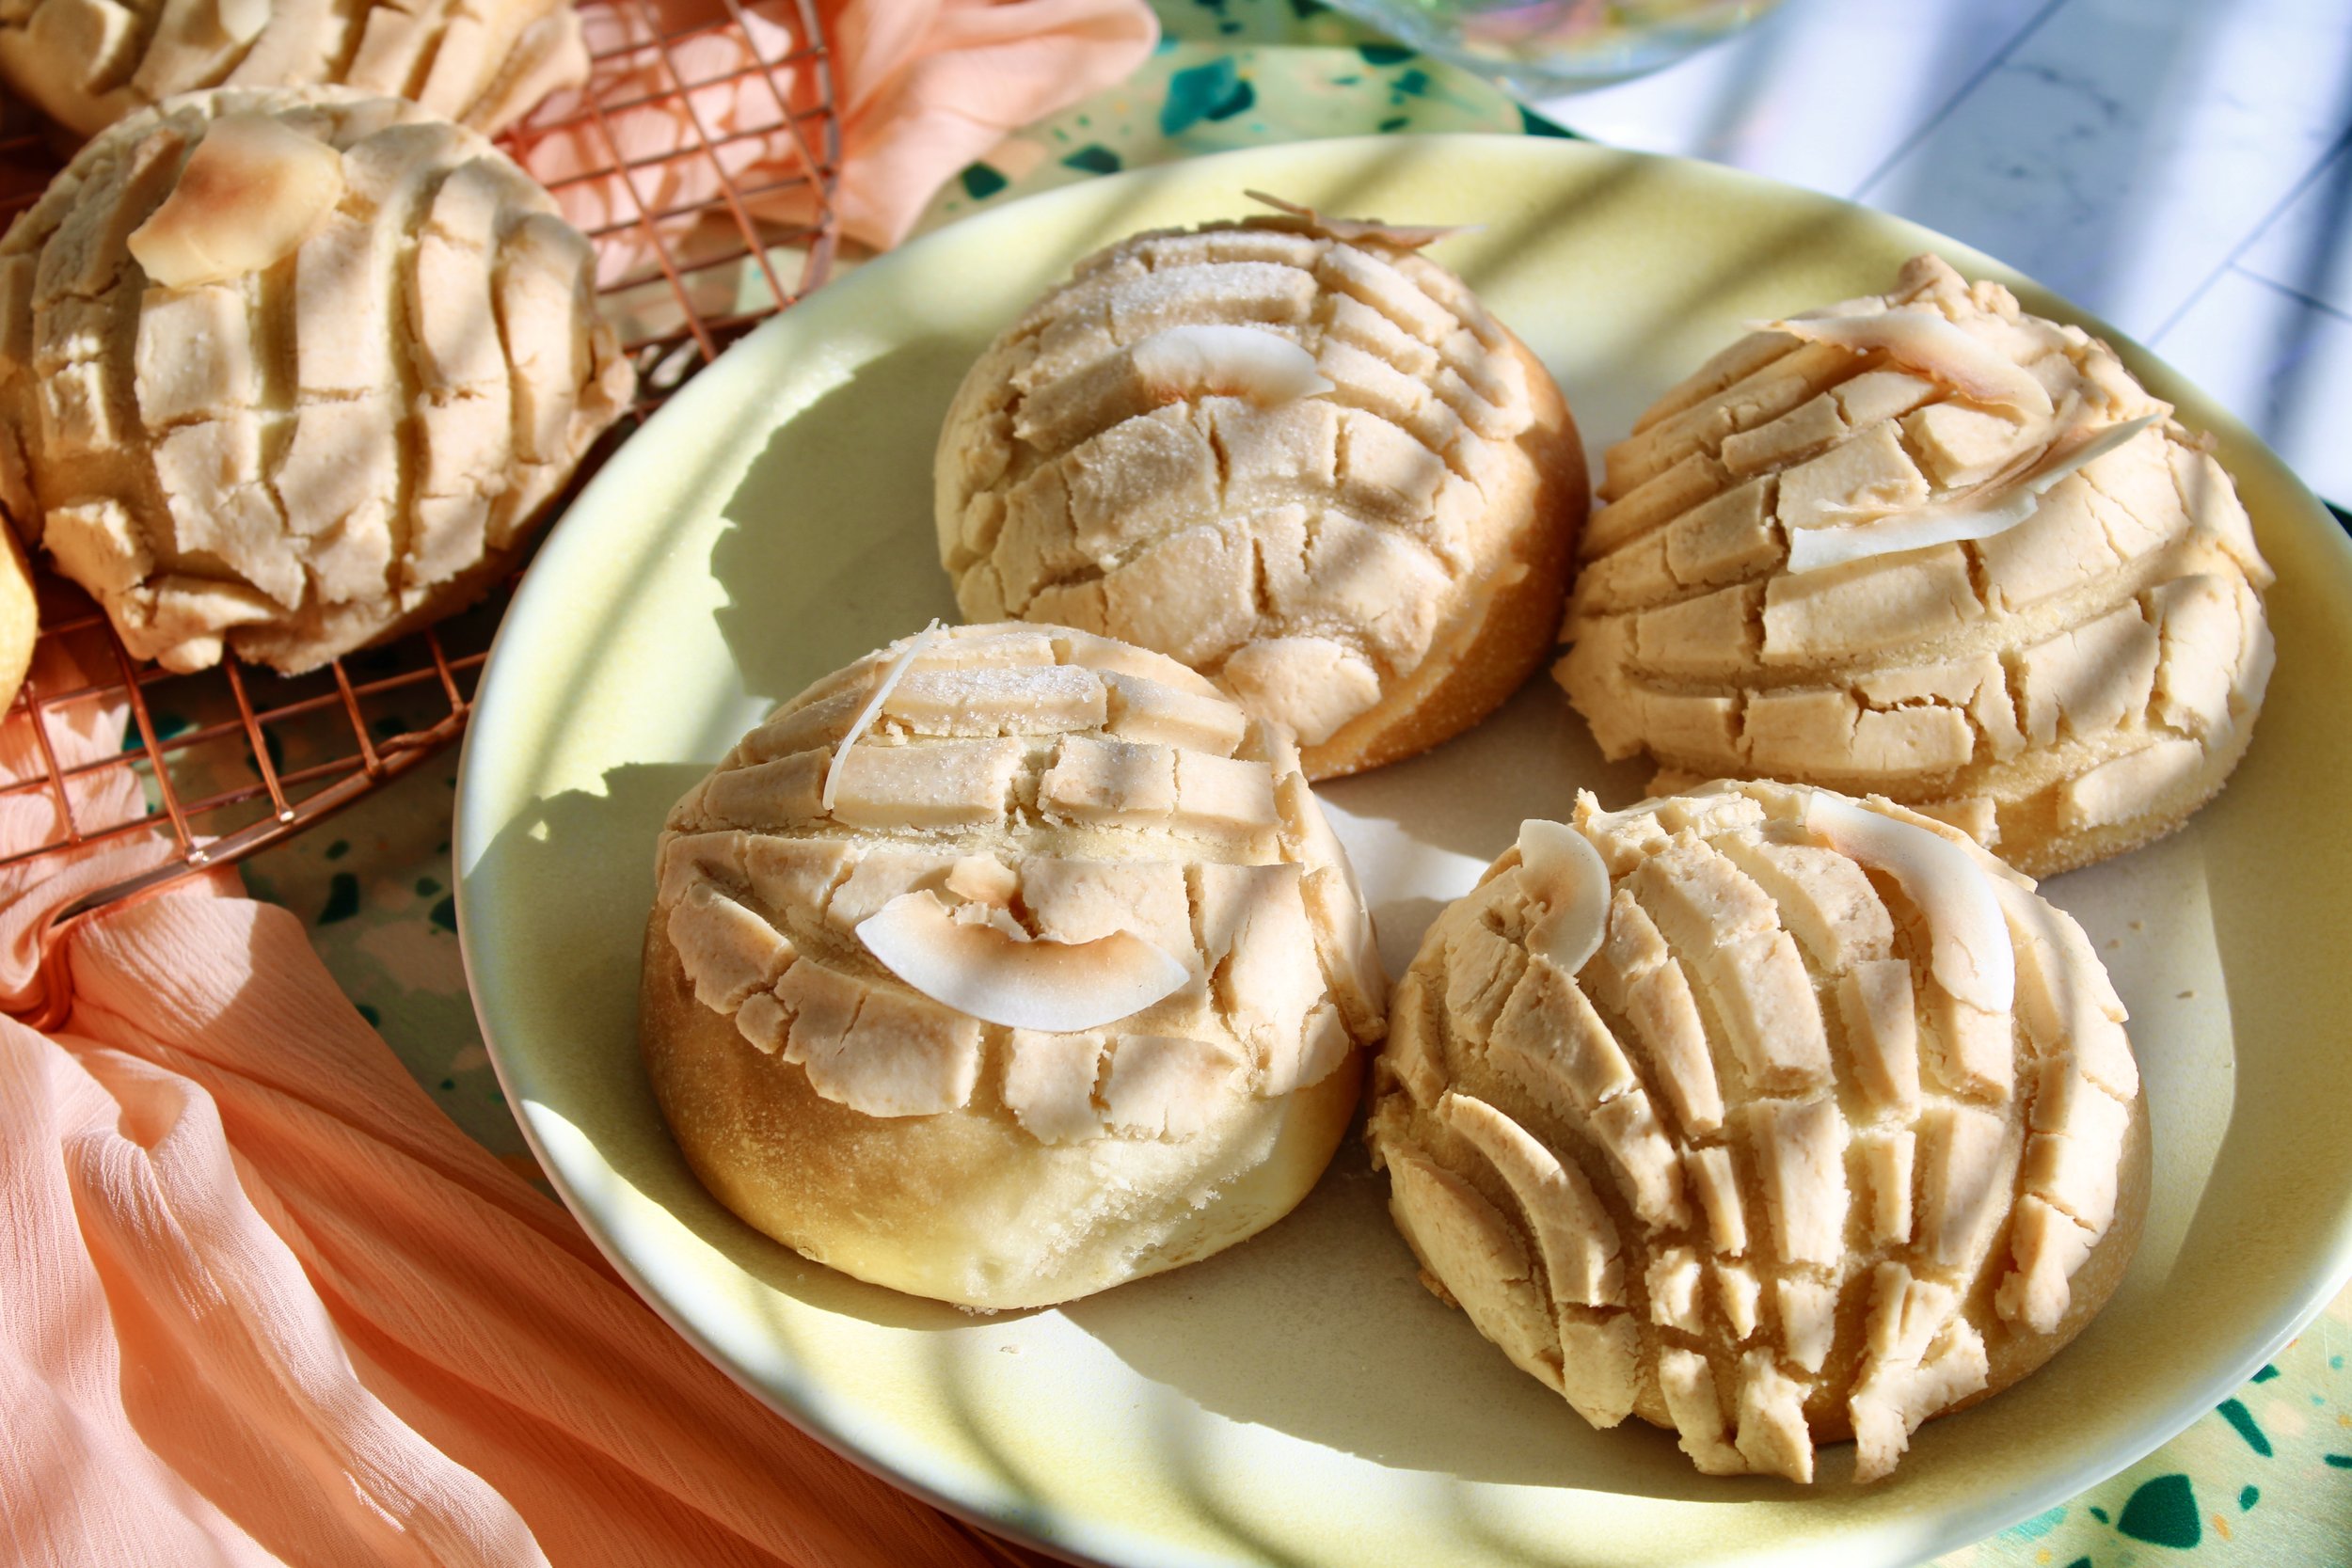
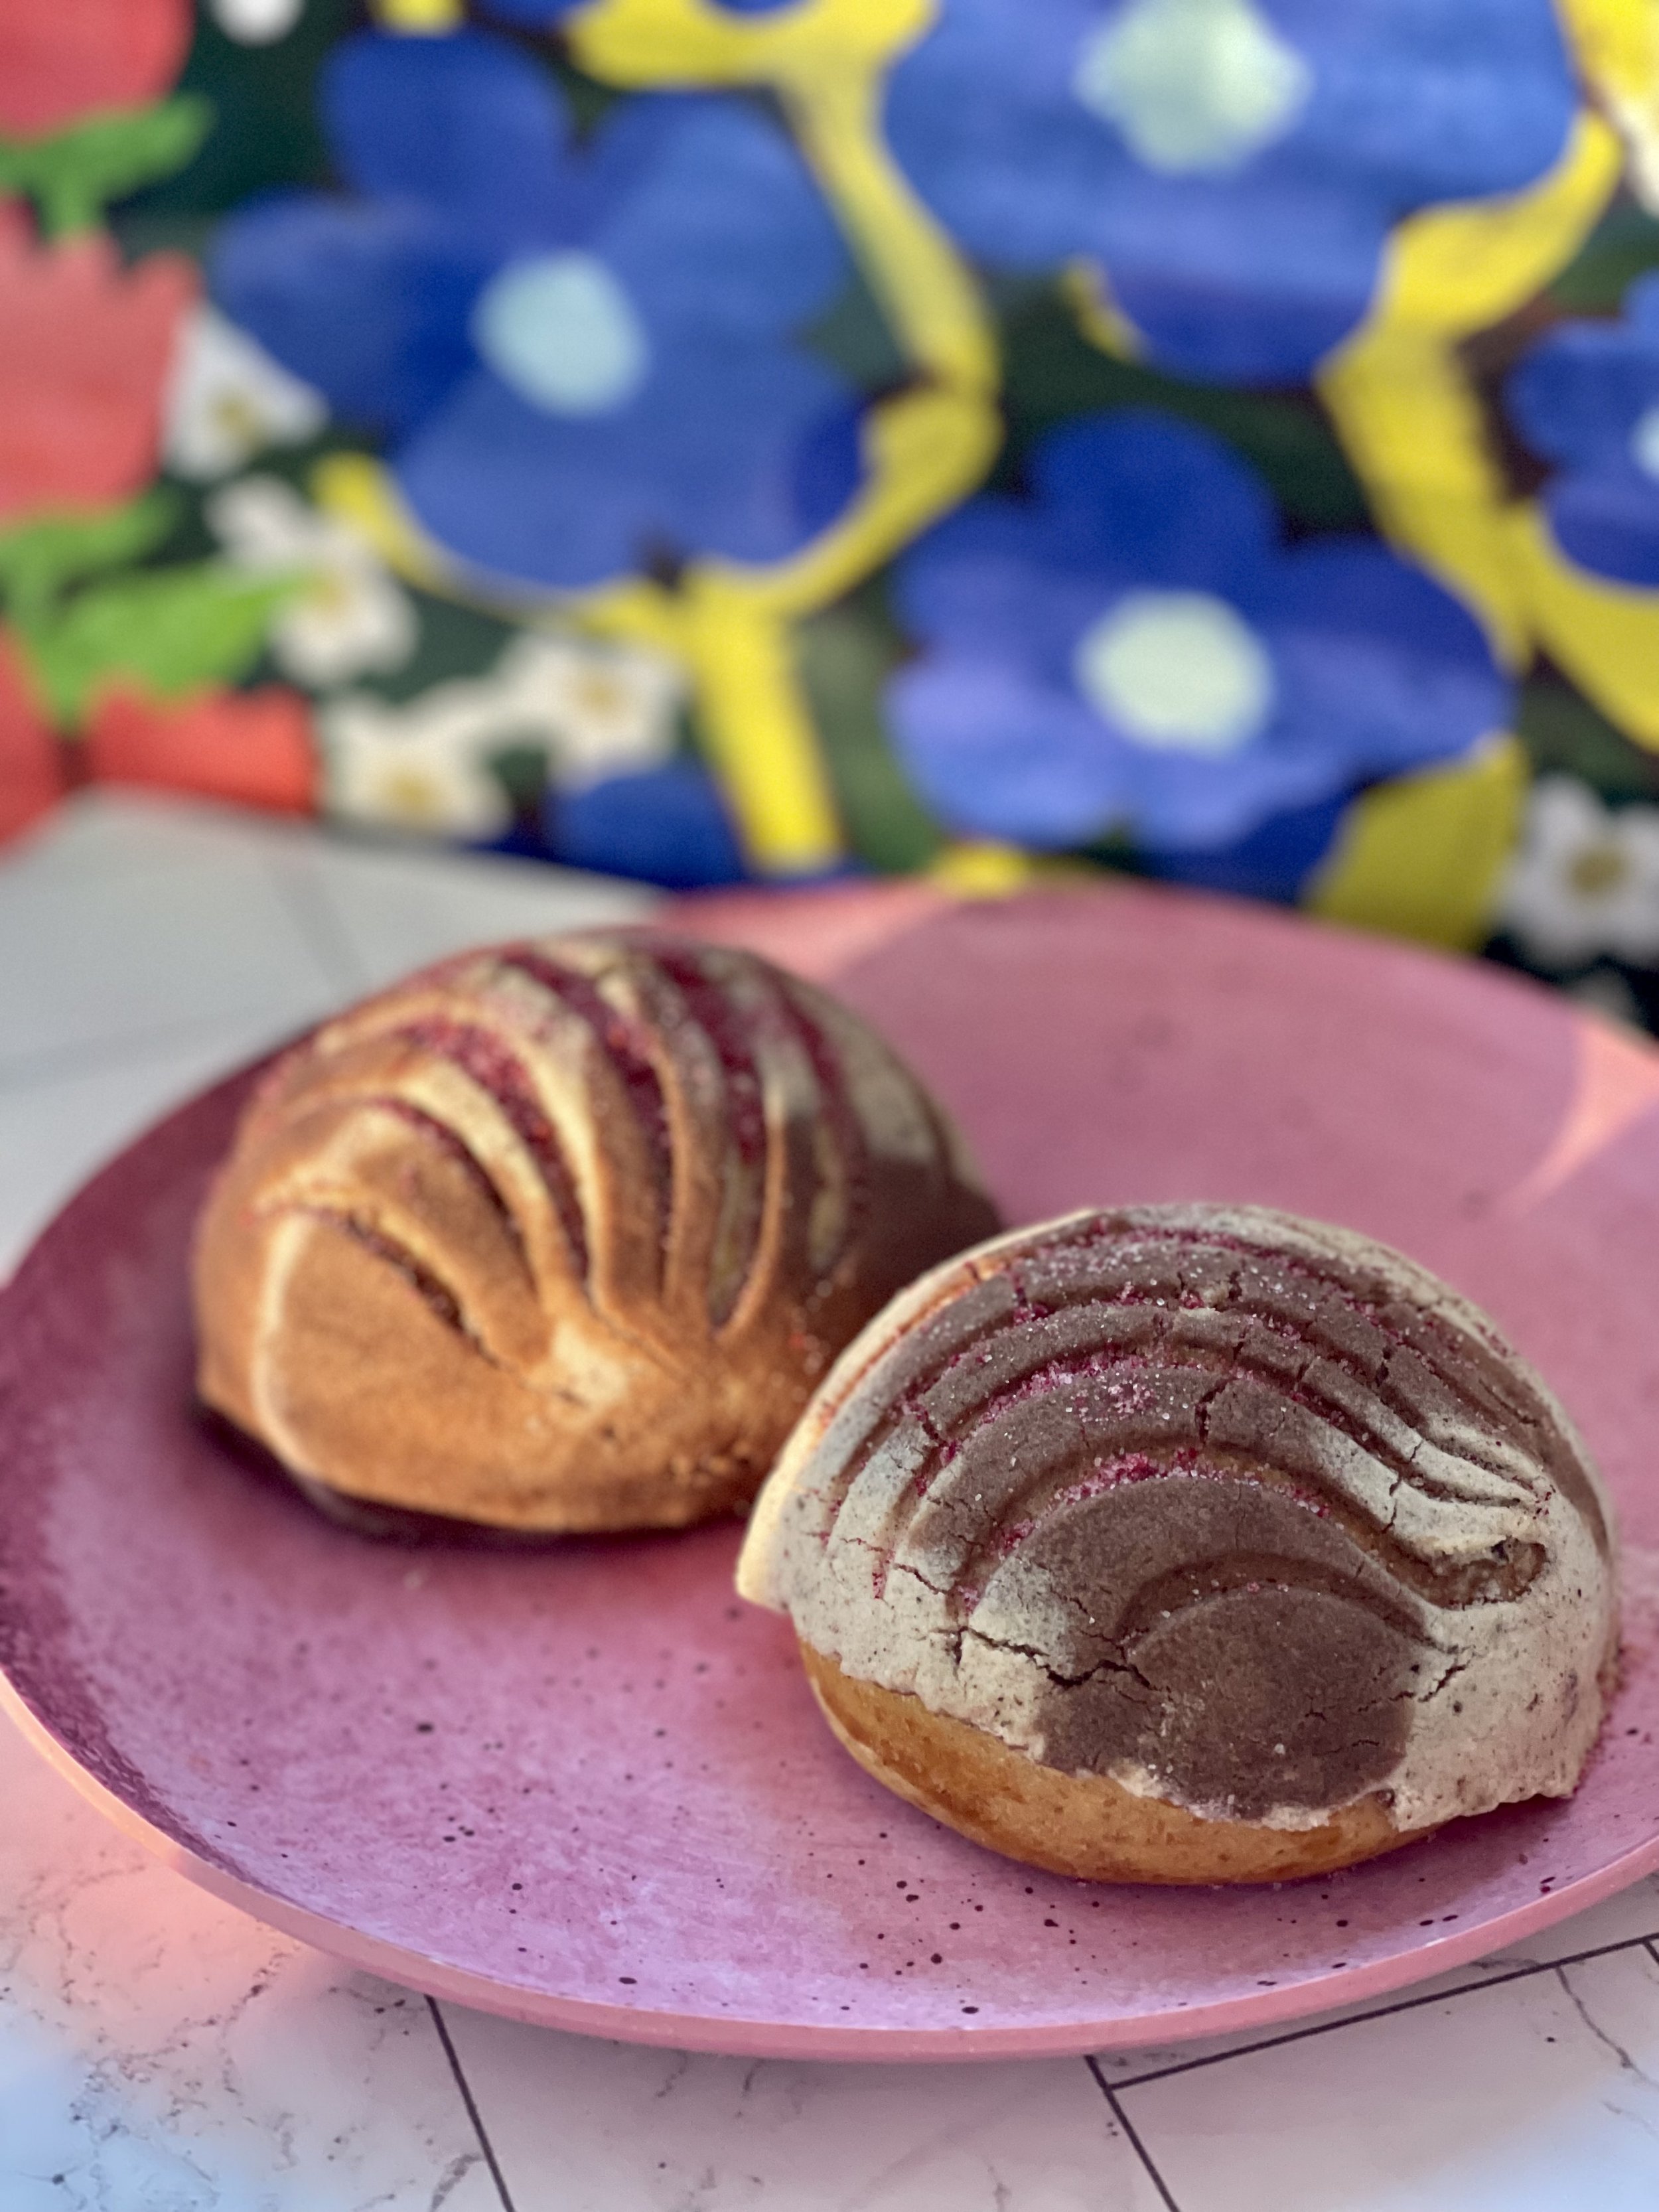
Since the topping is where the majority of the flavor will be coming from you can really let your creativity shine. A few ways that I’ve flavored concha toppings in the last year: using pistachio paste for a pistachio raspberry concha, with coconut flour and coconut oil for a, you guessed it, coconut concha; espresso powder + cocoa powder for my mocha concha; I have used azul masa for a masa lime concha, and of course, my personal favorite freeze dried fruit. You could also keep things extremely simple by adding citrus zest to your topping, which would pair very nicely with the zest in the dough. Vanilla bean paste or extract is also a good, simple idea for flavoring.
One thing most of these ingredients have in common is that they don’t add any additional moisture (or much, with the exception of coconut oil) to the topping dough. Lots of powders and dry ingredients here; we can add between 2 tablespoons to ¼ cup of powdered flavoring without changing the consistency of the topping all that much.
Speaking of, the topping should have a Play-Doh consistency. If the topping dough is feeling too crumbly, add in more fat by the tablespoon and continue to mix. If it’s feeling too wet, add in more flour or more powdered flavoring—t's actually quite a forgiving dough. Mixing the topping dough by hand was how I first learned and I’m grateful for that because now I know exactly how the topping is supposed to feel, just by touch. Please feel free to use a stand mixer for the topping if that is easier for you.
At Heart Panaderia Concha Recipe
Yield: 14 conchas
Total mix and knead time: about 30 minutes
Total rise time: ~3 hours - 12 hours (2 hours for the first rise; 1 hour for the second; for a cold, overnight proof it's 8-12 hours for the first rise)
Bake time: 20-22 minutes
Concha dough:
9 grams (about 1 ½ standard-size packets) active dry yeast
1 tablespoon sweetener, such as granulated sugar, honey, brown sugar, piloncillo
½ cup cow’s milk, oat milk, or almond milk, warmed to around 99F degrees
500 grams (about 3 ½ cups) bread flour
120 grams (about ½ cup) granulated sugar
11 grams (about ½ tablespoon) kosher salt
3 large eggs, straight from the fridge
4 ounces (1 stick) unsalted butter, softened
Zest from 1 large navel orange
Concha topping:
120 grams (1 cup) all-purpose flour
4 ounces confectioner’s sugar
3.5 ounces (about ½ cup) vegetable shortening or softened unsalted butter
Pinch of salt
2 tablespoons-¼ cup preferred powdered flavoring such as crushed freeze dried fruit, unsweetened cocoa powder, coconut flour, or espresso powder
Mix the dough:
In a small bowl, bloom the yeast. Add 9 grams of active dry yeast to the bowl and a tablespoon of your sweetener. Warm milk in a small saucepan set over low heat until it reaches around 99F; alternatively warm the milk in a microwave for around 25 seconds. Whisk the milk into the yeast and sugar. In about 5-10 minutes the yeast should have grown in size and bubbles will have risen to its surface.
While the yeast blooms, weigh out your bread flour, granulated sugar, and salt. I do this directly into my stand mixer bowl for ease. Give the dry ingredients a quick whisk, then attach the bowl to your stand mixer.
Set the stand mixer to low speed (speed 2 on a Kitchenaid stand mixer) and secure the dough hook attachment. With the mixer running add the softened butter by the tablespoon. Once all the butter has been added, up the mixing speed to speed 4 just for an additional 2 minutes or so to continue breaking down the butter. Set the mixing speed back down to low (speed 2) now. Add the eggs one at a time and let the mixer do its thing. At this point the dough will look quite shaggy and dry. Push down any flour that has gathered on the side of the bowl using a rubber spatula.
Pour in the bloomed yeast and add the orange zest now. Mix on low speed for about 5 minutes to incorporate the yeast into the rest of the dough. Using a firm rubber spatula or flexible dough scraper, scrape down the sides of the bowl.
Now is when you can really let the mixer do most of the hard work for you: with the mixer set to medium (speed 6) mix the dough for a good 15-20 minutes. Concha dough is quite wet and sticky, so even though it will look like more flour might be needed as it mixes, resist the urge. If, after 20 minutes of mixing, the dough is still not really pulling away from the sides of the mixing bowl, you can add a scant 1 tablespoon of flour to the dough and continue mixing for an additional 5-7 minutes.
Knead the dough:
Spray a large mixing bowl with cooking spray or drizzle in a little neutral-flavored oil and rub it around the sides and bottom of the bowl and set aside. Using a sturdy rubber spatula, scrape down the sides of the mixing bowl and transfer the dough to your work surface (no need to flour the work surface).
Knead the dough with your hands now. Use the dough scraper or rubber spatula to fold the sticky dough over onto itself, then pick up the dough with your hands and slap it back down on the counter. Yes, slap it. This slapping technique (usually called “slap and fold”) is a way to build strength and gluten in sticky, high hydration doughs. Slap and knead the dough repeatedly for a good 5-7 minutes. The dough will be very sticky at the beginning of kneading and towards the 7-minute mark will have become a bit more manageable. Transfer the dough now to the prepared bowl, cover with plastic wrap then drape a clean kitchen towel over.
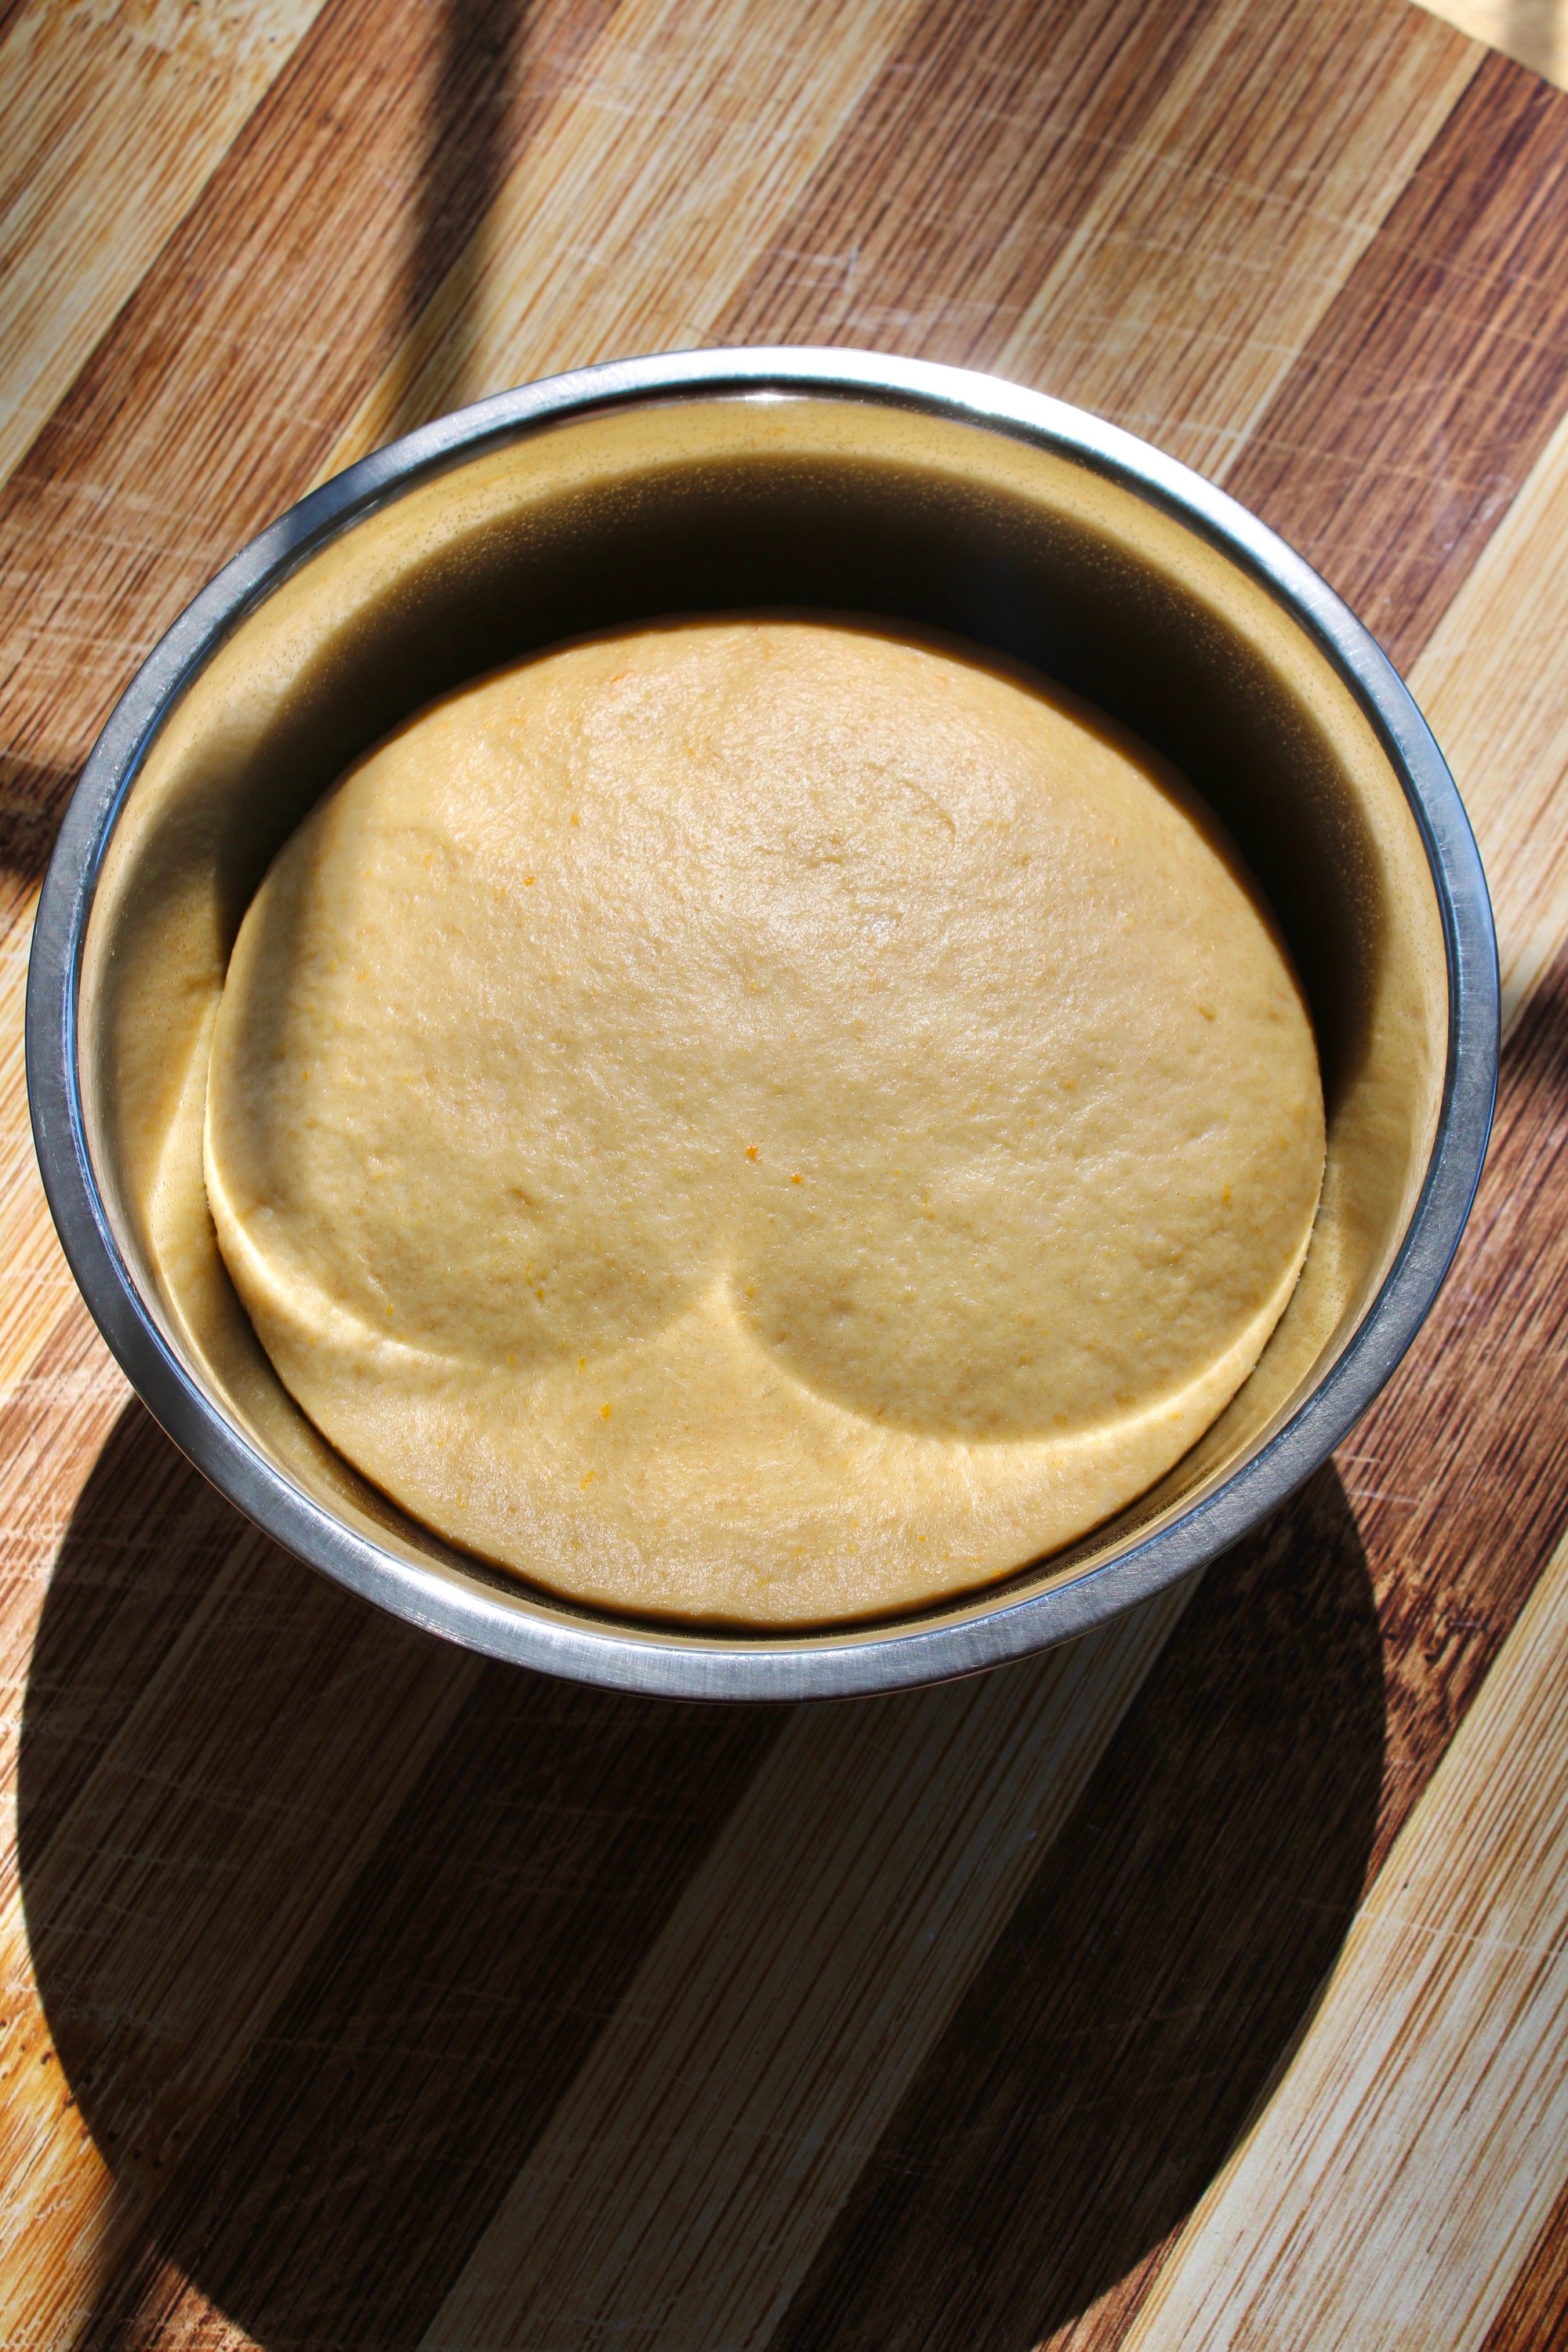
Let the dough rise in a warm environment until doubled in size, about 2 hours. I stick my concha dough into my oven for the first rise. (The oven should remain off, by the way.)
You can also let the dough finish its first rise, punch it down to release the air, and then transfer it to your fridge for a cold, overnight proof. This long, cold proof develops incredible flavor and is how I make the conchas for my bakery. Be sure to cover the dough with plastic wrap tightly before letting it hang out for 8-12 hours in your fridge. When you’re ready to shape the concha dough, take the dough out of the fridge and let it sit on your counter for 20 minutes before dividing and shaping. (It is also easier to work with concha dough when it is cold, as it’s much less sticky.)
Making the concha topping:
In a mixing bowl, add all of the ingredients for the concha topping. Using your hands or a pastry cutter, cut the butter or shortening into the rest of the ingredients the same way you would when making pie dough. The topping is ready when it has a similar consistency to Play-Doh. Cover the topping with plastic wrap and set aside for now.
Dividing and shaping the concha dough:
After about 2 hours and the dough has doubled in size, it’s time to divide and shape. Punch down the concha dough and transfer once again to your un-floured work surface. Use a kitchen scale to divide the dough into balls/pieces that weigh 69-70 grams each. Divide the dough by using a bench scraper, cutting the dough in half and then cutting those two halves in half again. Cut off a piece of the dough half, set it on the kitchen scale to weigh out 69-70 grams, then set it to the side while you continue dividing the rest of the dough. This recipe should yield 14 conchas with a tiny bit of dough leftover for you to make one cute little concha, if you want.
Shape the conchas: take one concha ball and flatten it gently with the palm of your hand. Form your hand into a C-shape now and cup the concha dough ball. Roll the dough ball around with your hand to create surface tension with your work surface and the dough, like I do in the video. Line two baking sheets with parchment paper now. Shape all 14 concha dough balls and place onto the prepared baking sheets, about 2 inches apart from one another. Cover the baking sheets with clean kitchen towels for now.
Dividing and scoring the concha topping:
For these steps you will need: a large piece of plastic wrap; a small but heavy skillet, pie plate, or tortilla press to flatten the topping dough, and a concha cutter (apologies for the Am*zon link) or small paring knife.
Before dividing the topping dough, make the egg wash: crack 1 egg into a small bowl and add a splash of water; whisk to combine.
Using the palm of your hand, gently flatten each concha ball and brush the tops with the egg wash.
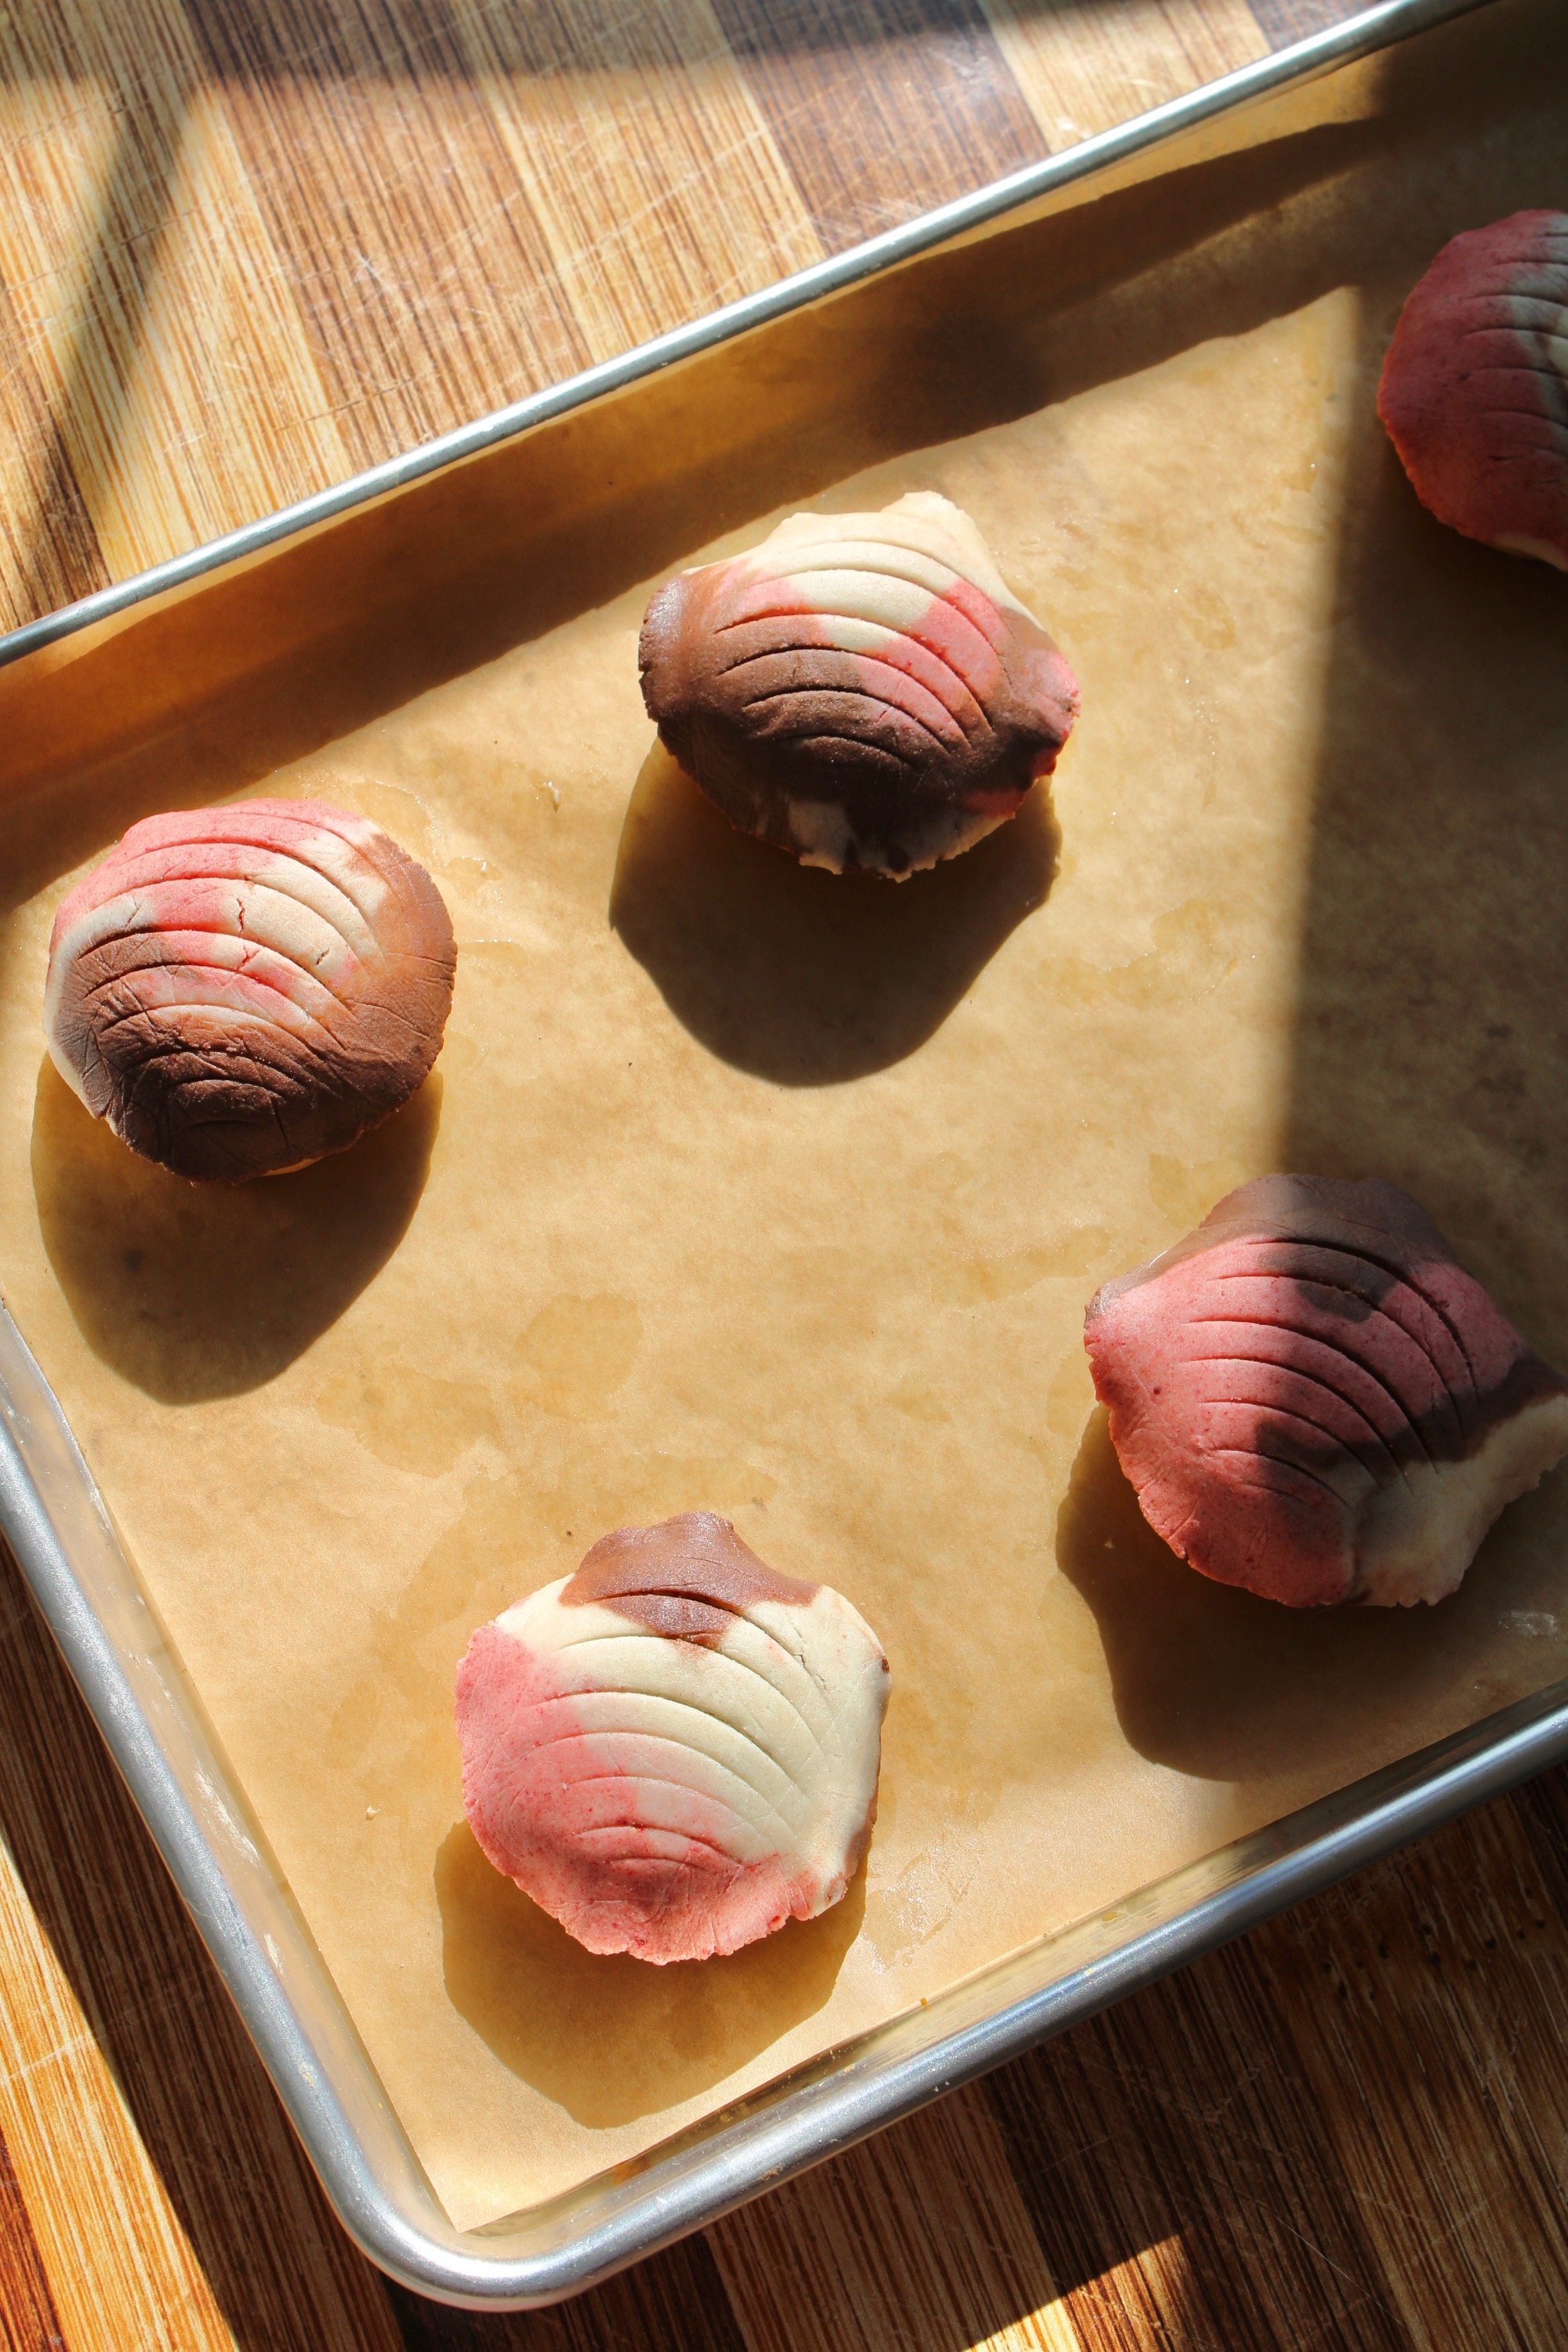
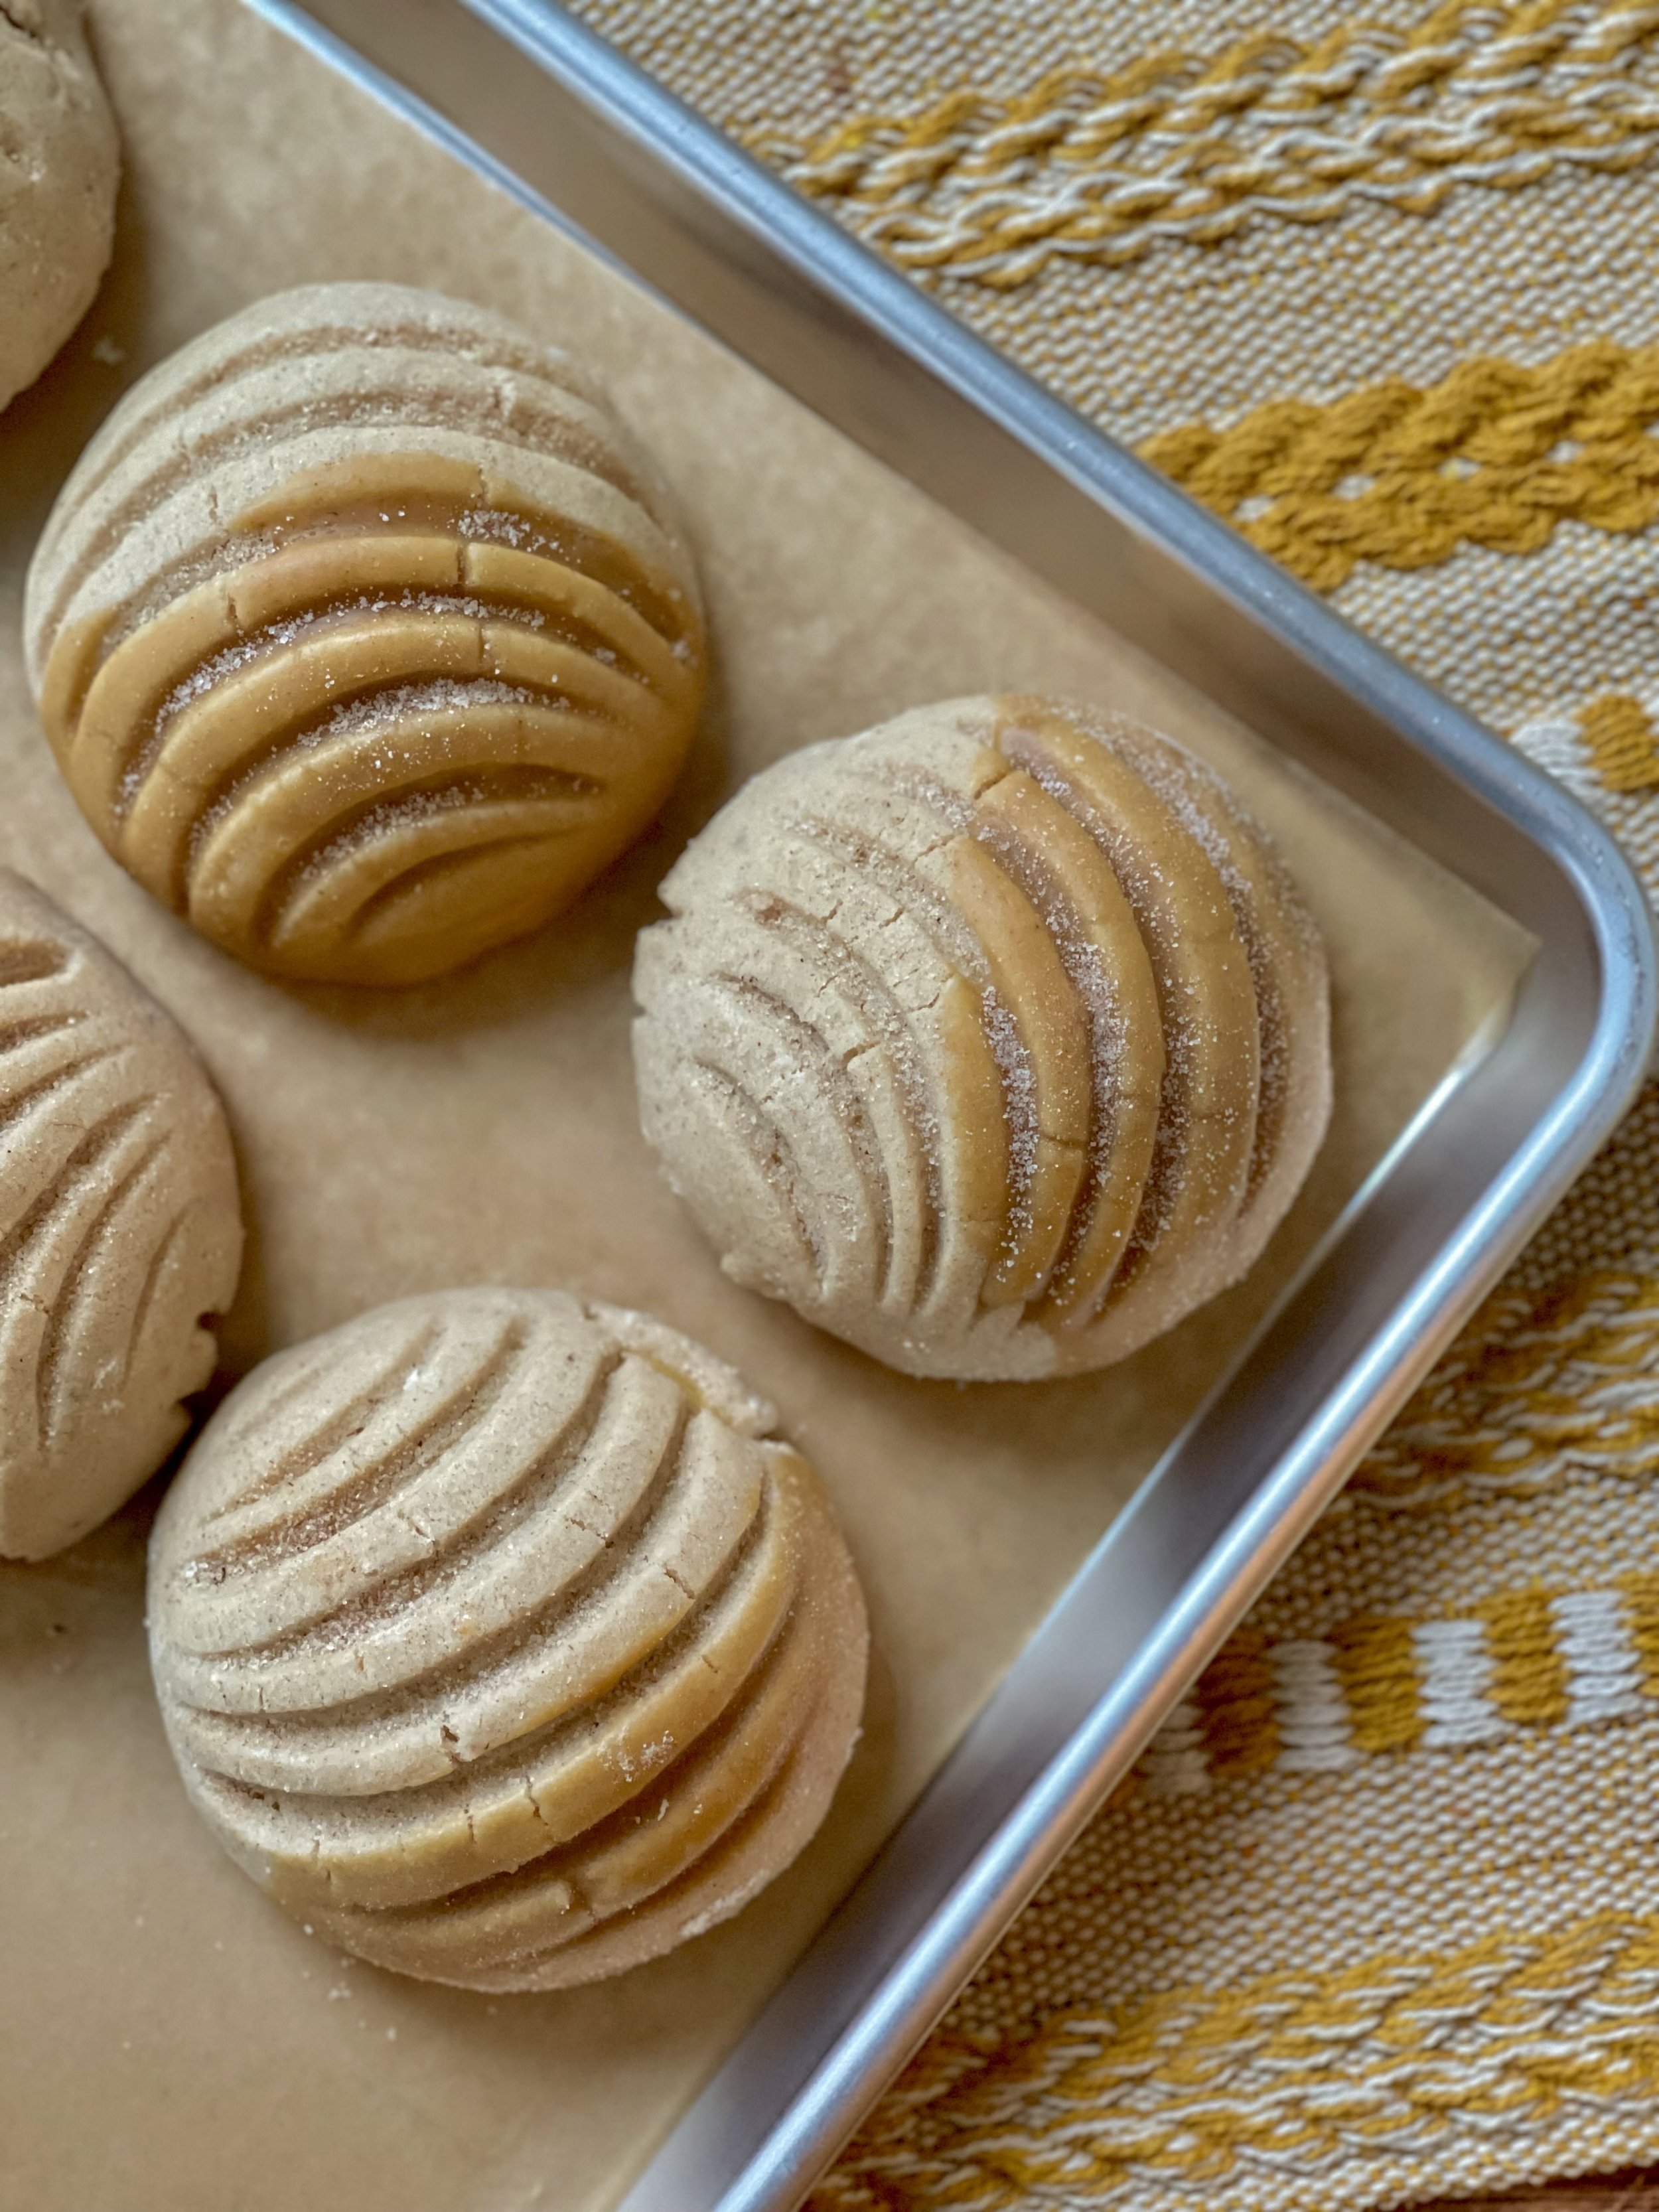
Divide the topping dough into 14 pieces that weigh about 25 grams each. Roll one topping piece into a small ball, then place the ball onto the plastic wrap. Fold the plastic wrap over the dough ball, then using either a small skillet, pie plate, or tortilla press, flatten the ball into a thin, flat disk. The disk should be about 3-inches in diameter but do not worry too much about the specific measurement.
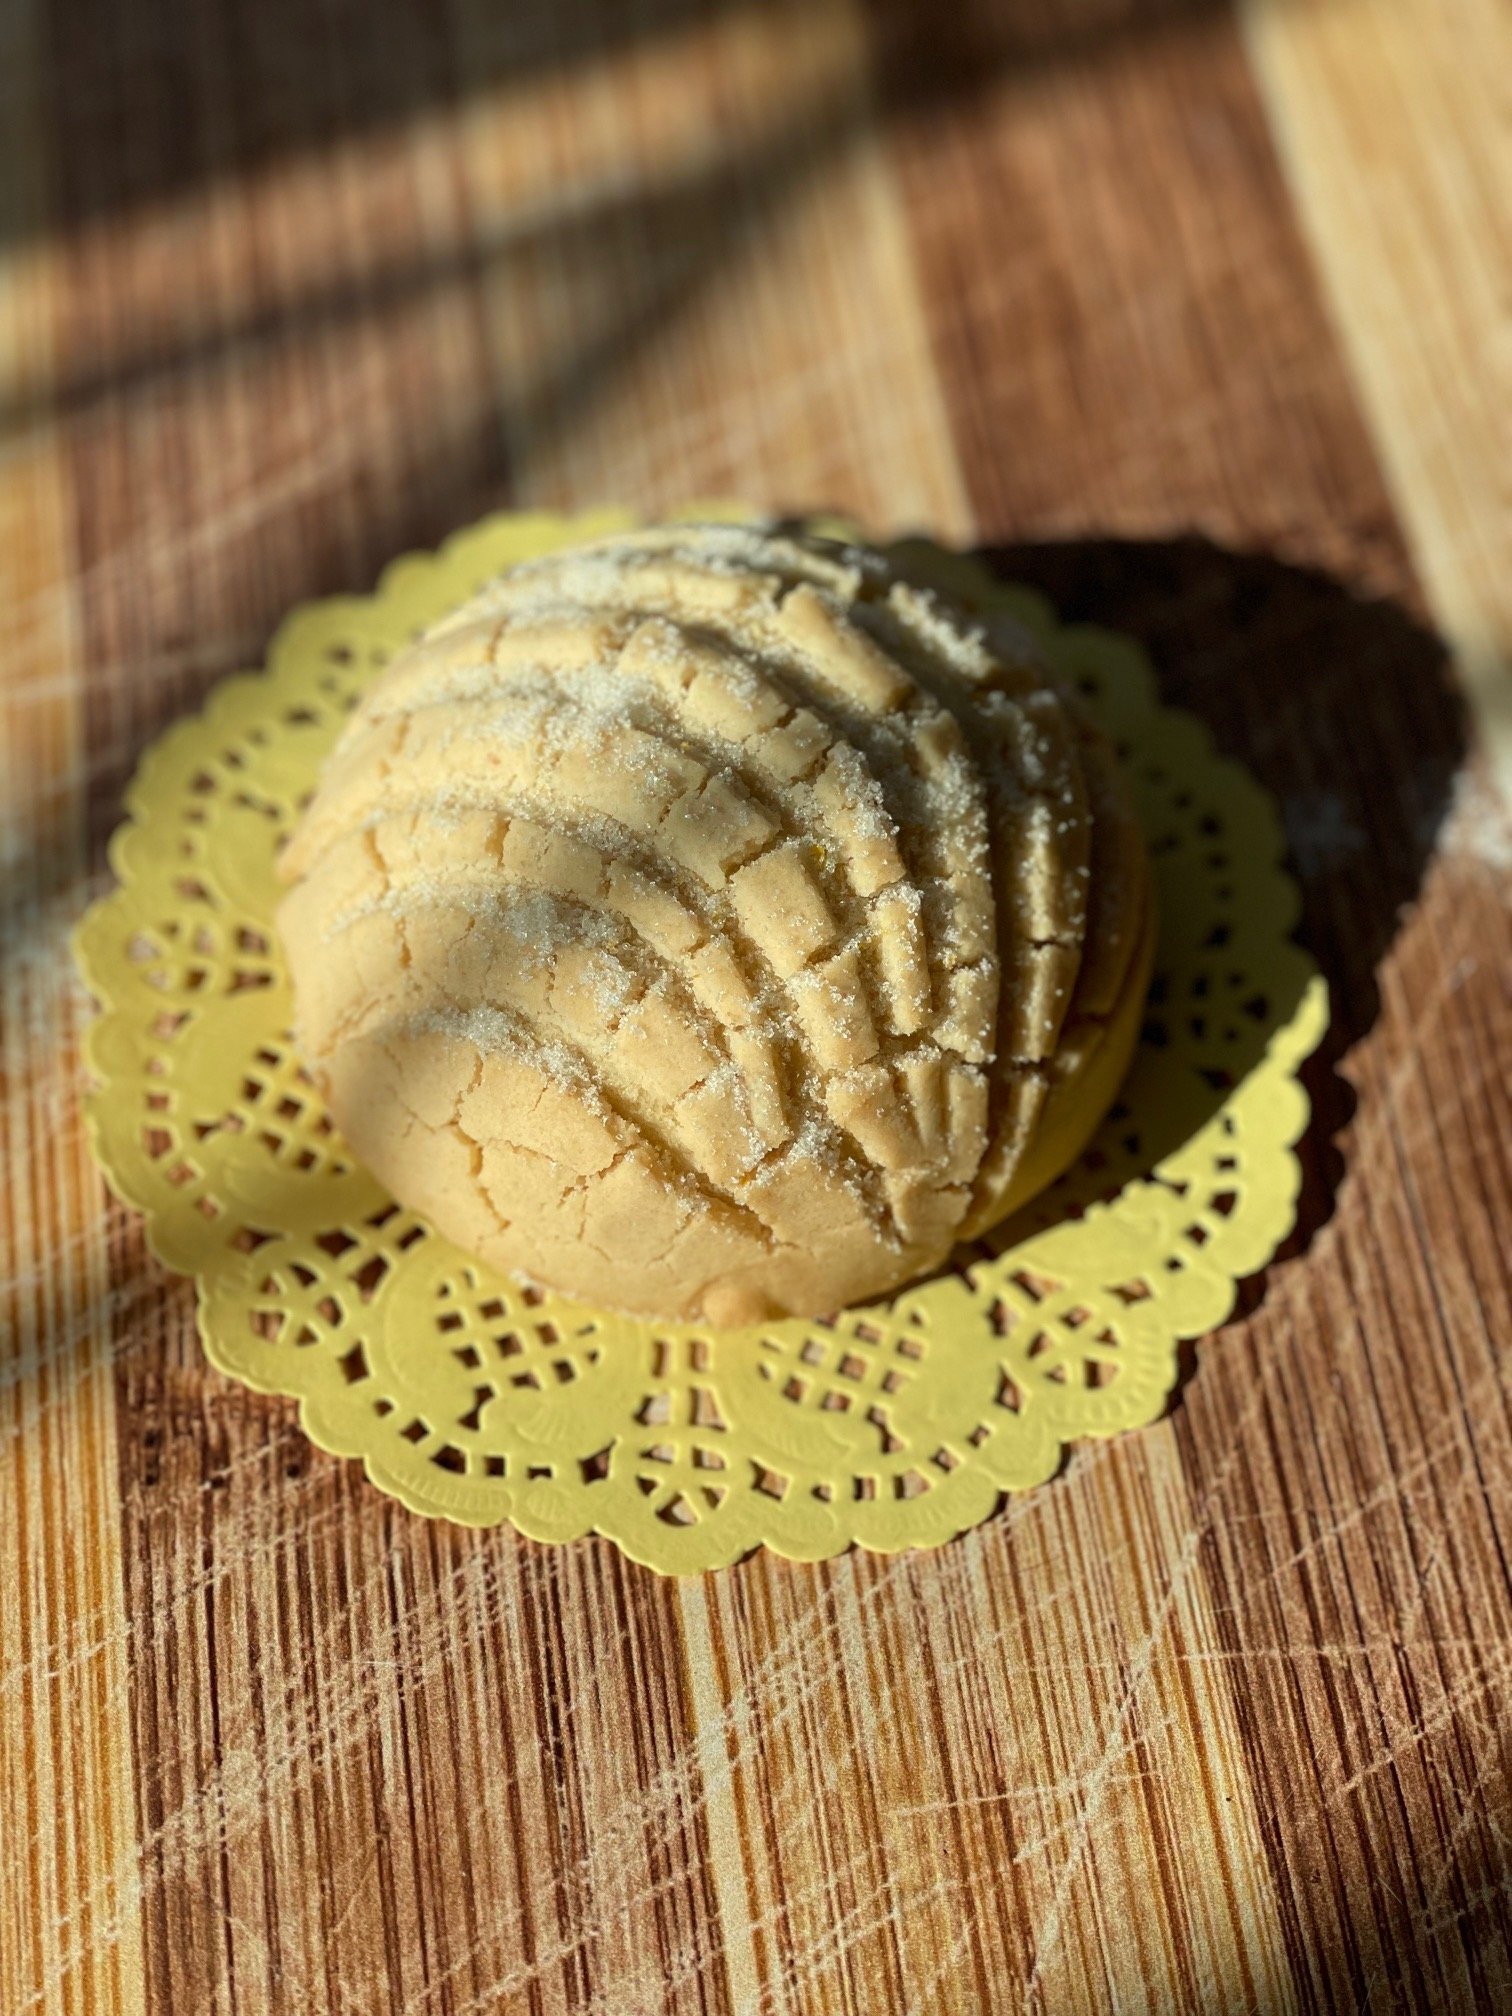
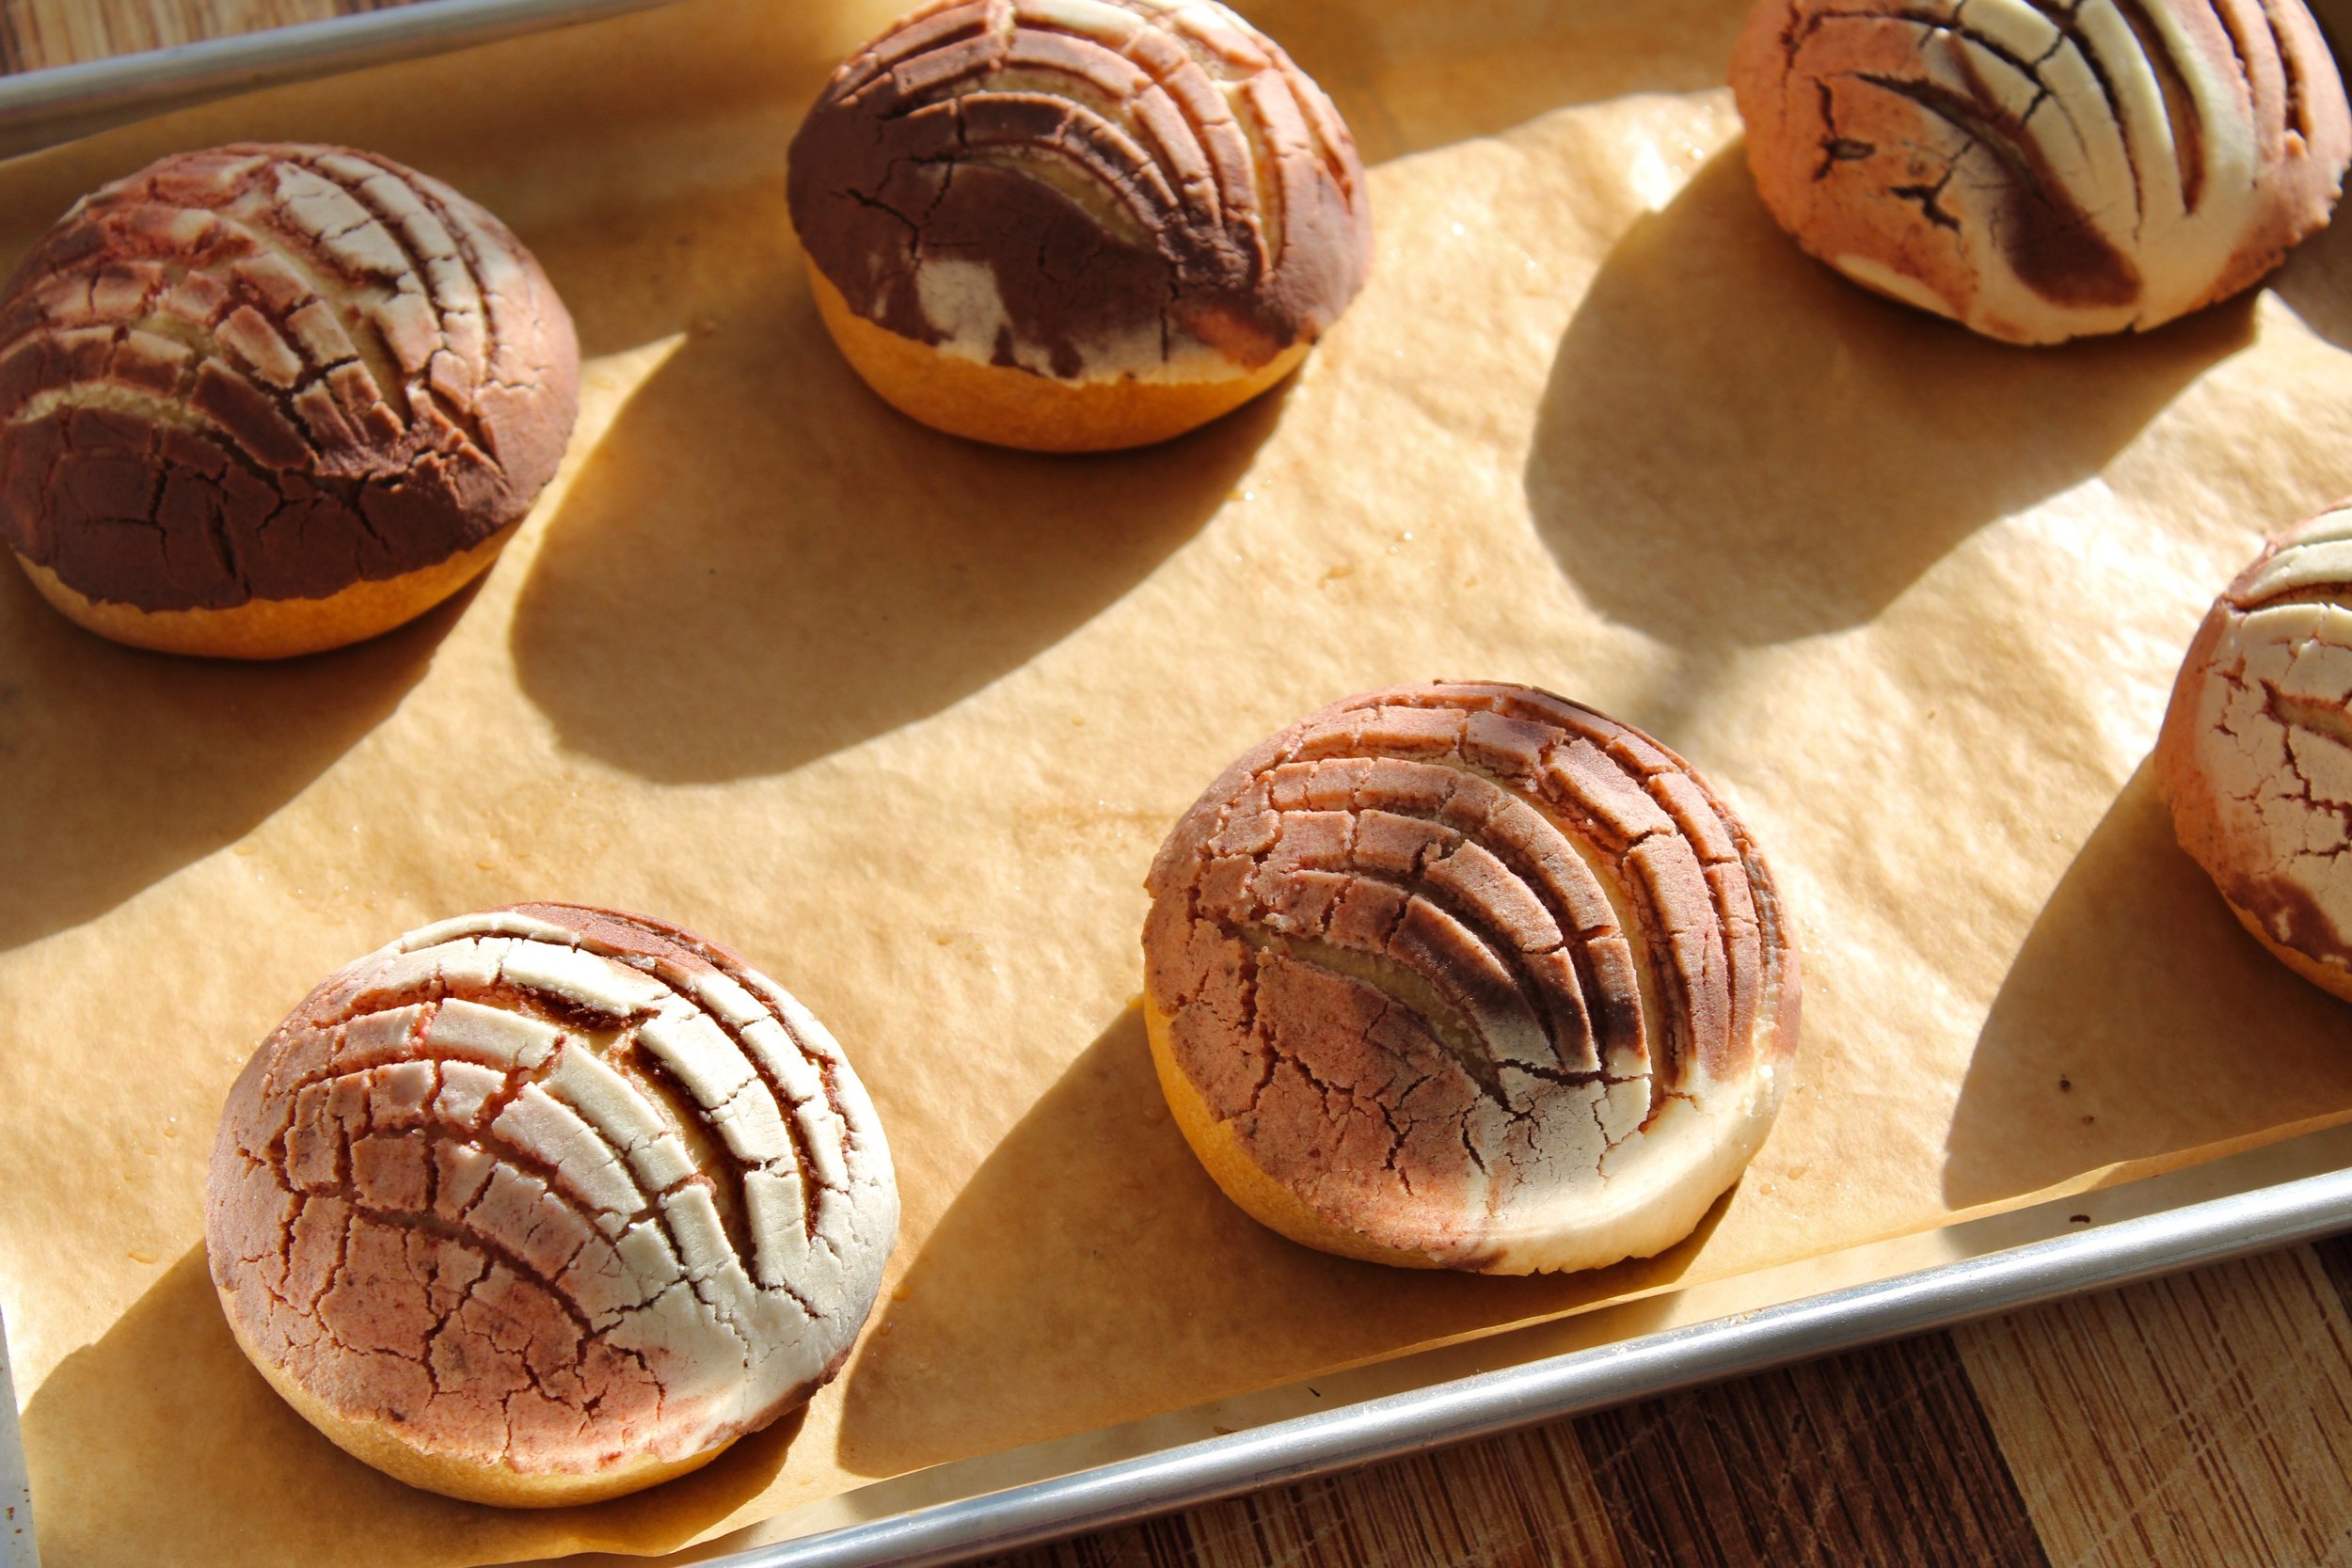
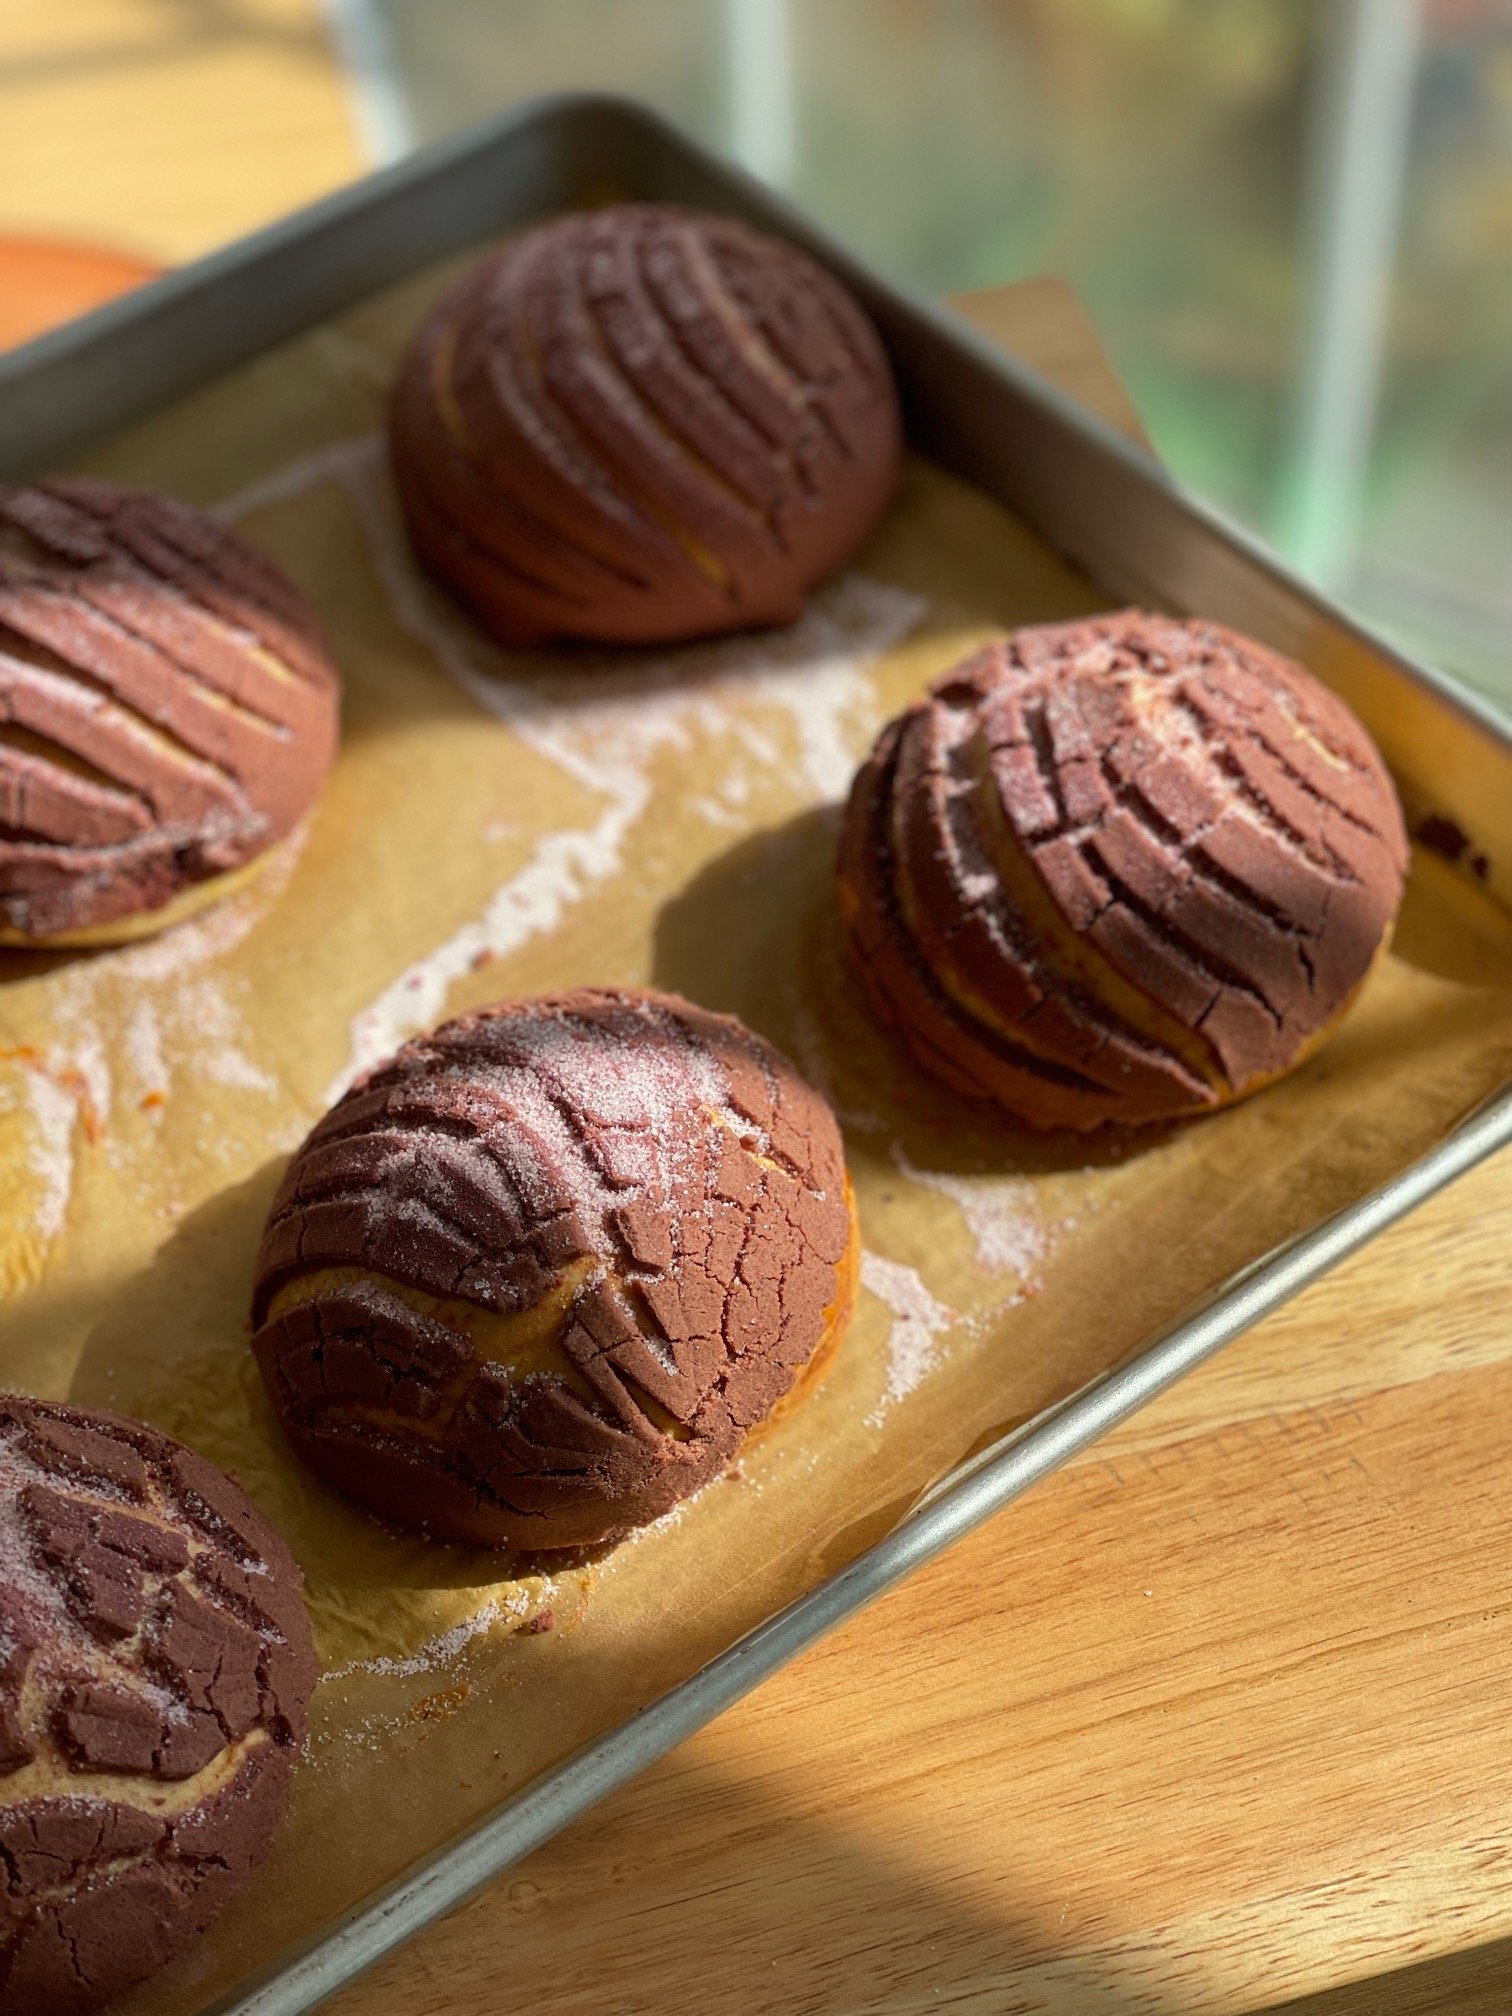
Peel away the plastic and drape the topping disk over a concha now, pressing down gently. Repeat with the remaining topping balls until each concha has a little topping hat. Using a concha cutter or a small paring knife, score the topping on each concha to give it the signature concha/seashell look. To use a paring knife for scoring: simply cut into the topping and drag the knife to create lines that resemble a seashell. Be careful to only cut the topping and not into the dough itself.
Once all conchas have their toppings and have been scored, cover the baking sheets with the kitchen towels again. Let conchas rise for a second time on your kitchen counter, until doubled in size, about 1 hour. The timing for the second rise depends dramatically on the ambient temperature in your kitchen. The conchas will be ready to bake once they look noticeably puffier than before; the topping might also crack a bit as the dough expands and proofs—this is fine, this is normal. Any cracks in the topping give each concha its own distinct look.
At long last, bake the conchas:
After about 1 hour for the second, final rise, the conchas should be ready to bake: Heat your oven to 350F; bake one baking sheet at a time unless you have a big oven. Bake the conchas for 20-22 minutes, or until you can detect a yeasty aroma + whatever flavor you used in your concha topping; the bottoms of each concha should be nicely browned as well. Let the conchas cool a bit, about 10 minutes, before tearing into them—you worked very hard to get to this point, enjoy it.
To store the conchas:
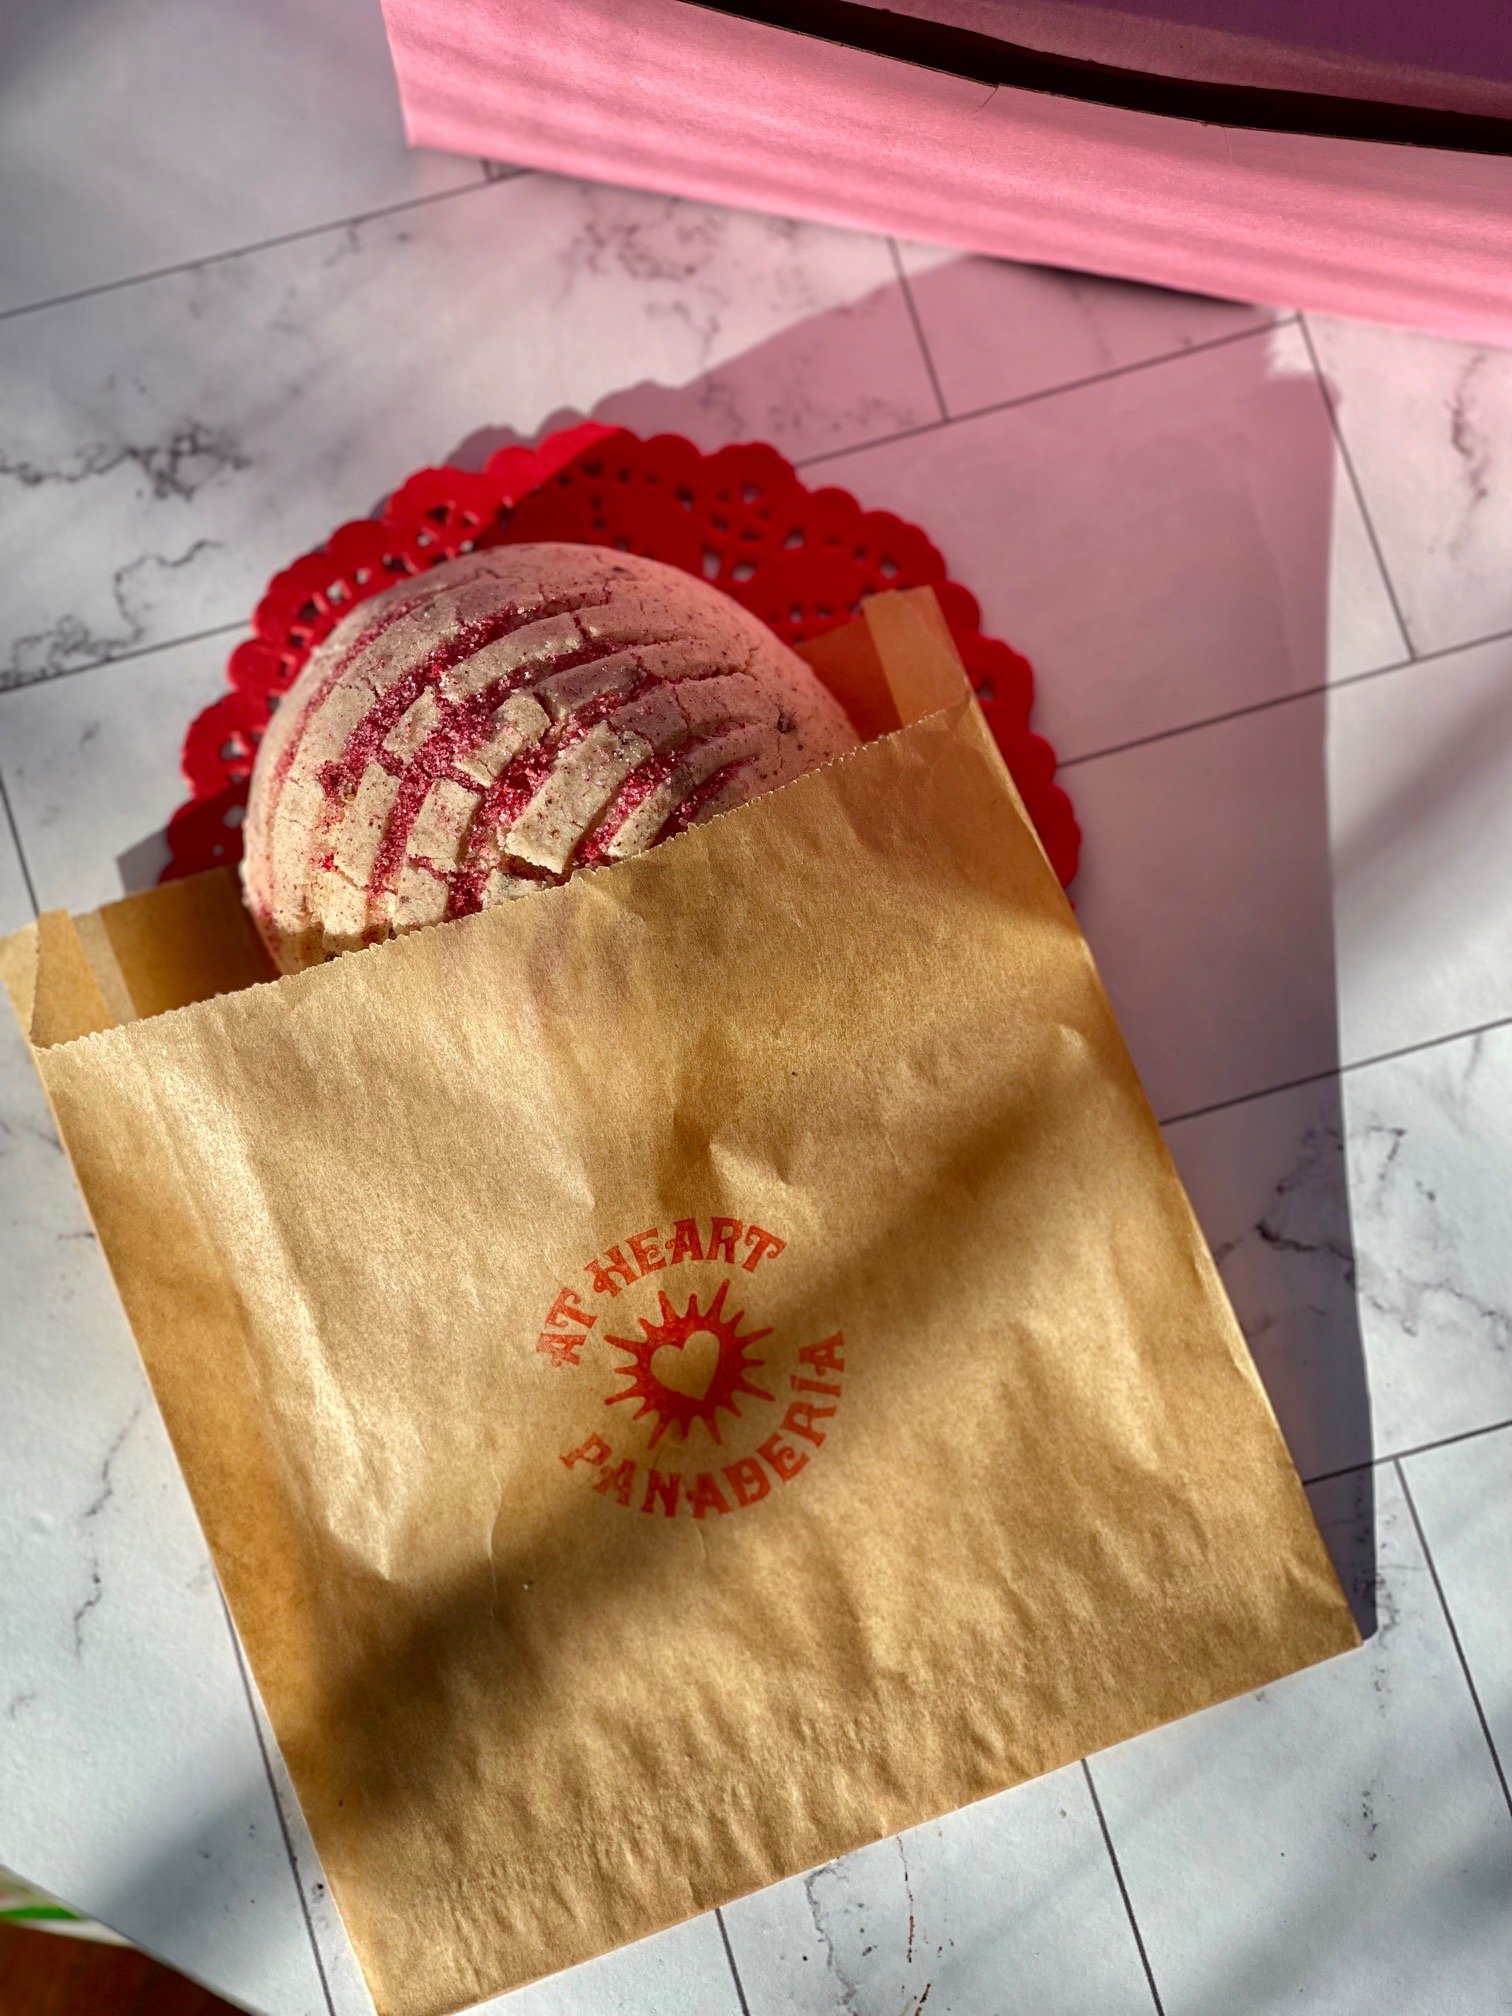
The conchas will keep, covered, for about 2-3 days (I use two gallon-size plastic bags for storage). It is to be expected that the conchas will dry out over time; they are definitely their absolute best on day 1. However I recently baked conchas for a coffee shop near me the day before they were sold to the public and all three dozen of those sold out in 6 hours with much praise, so, take from that what you will! Conchas are meant to be shared like the gift that they are; eat some and give some away.