
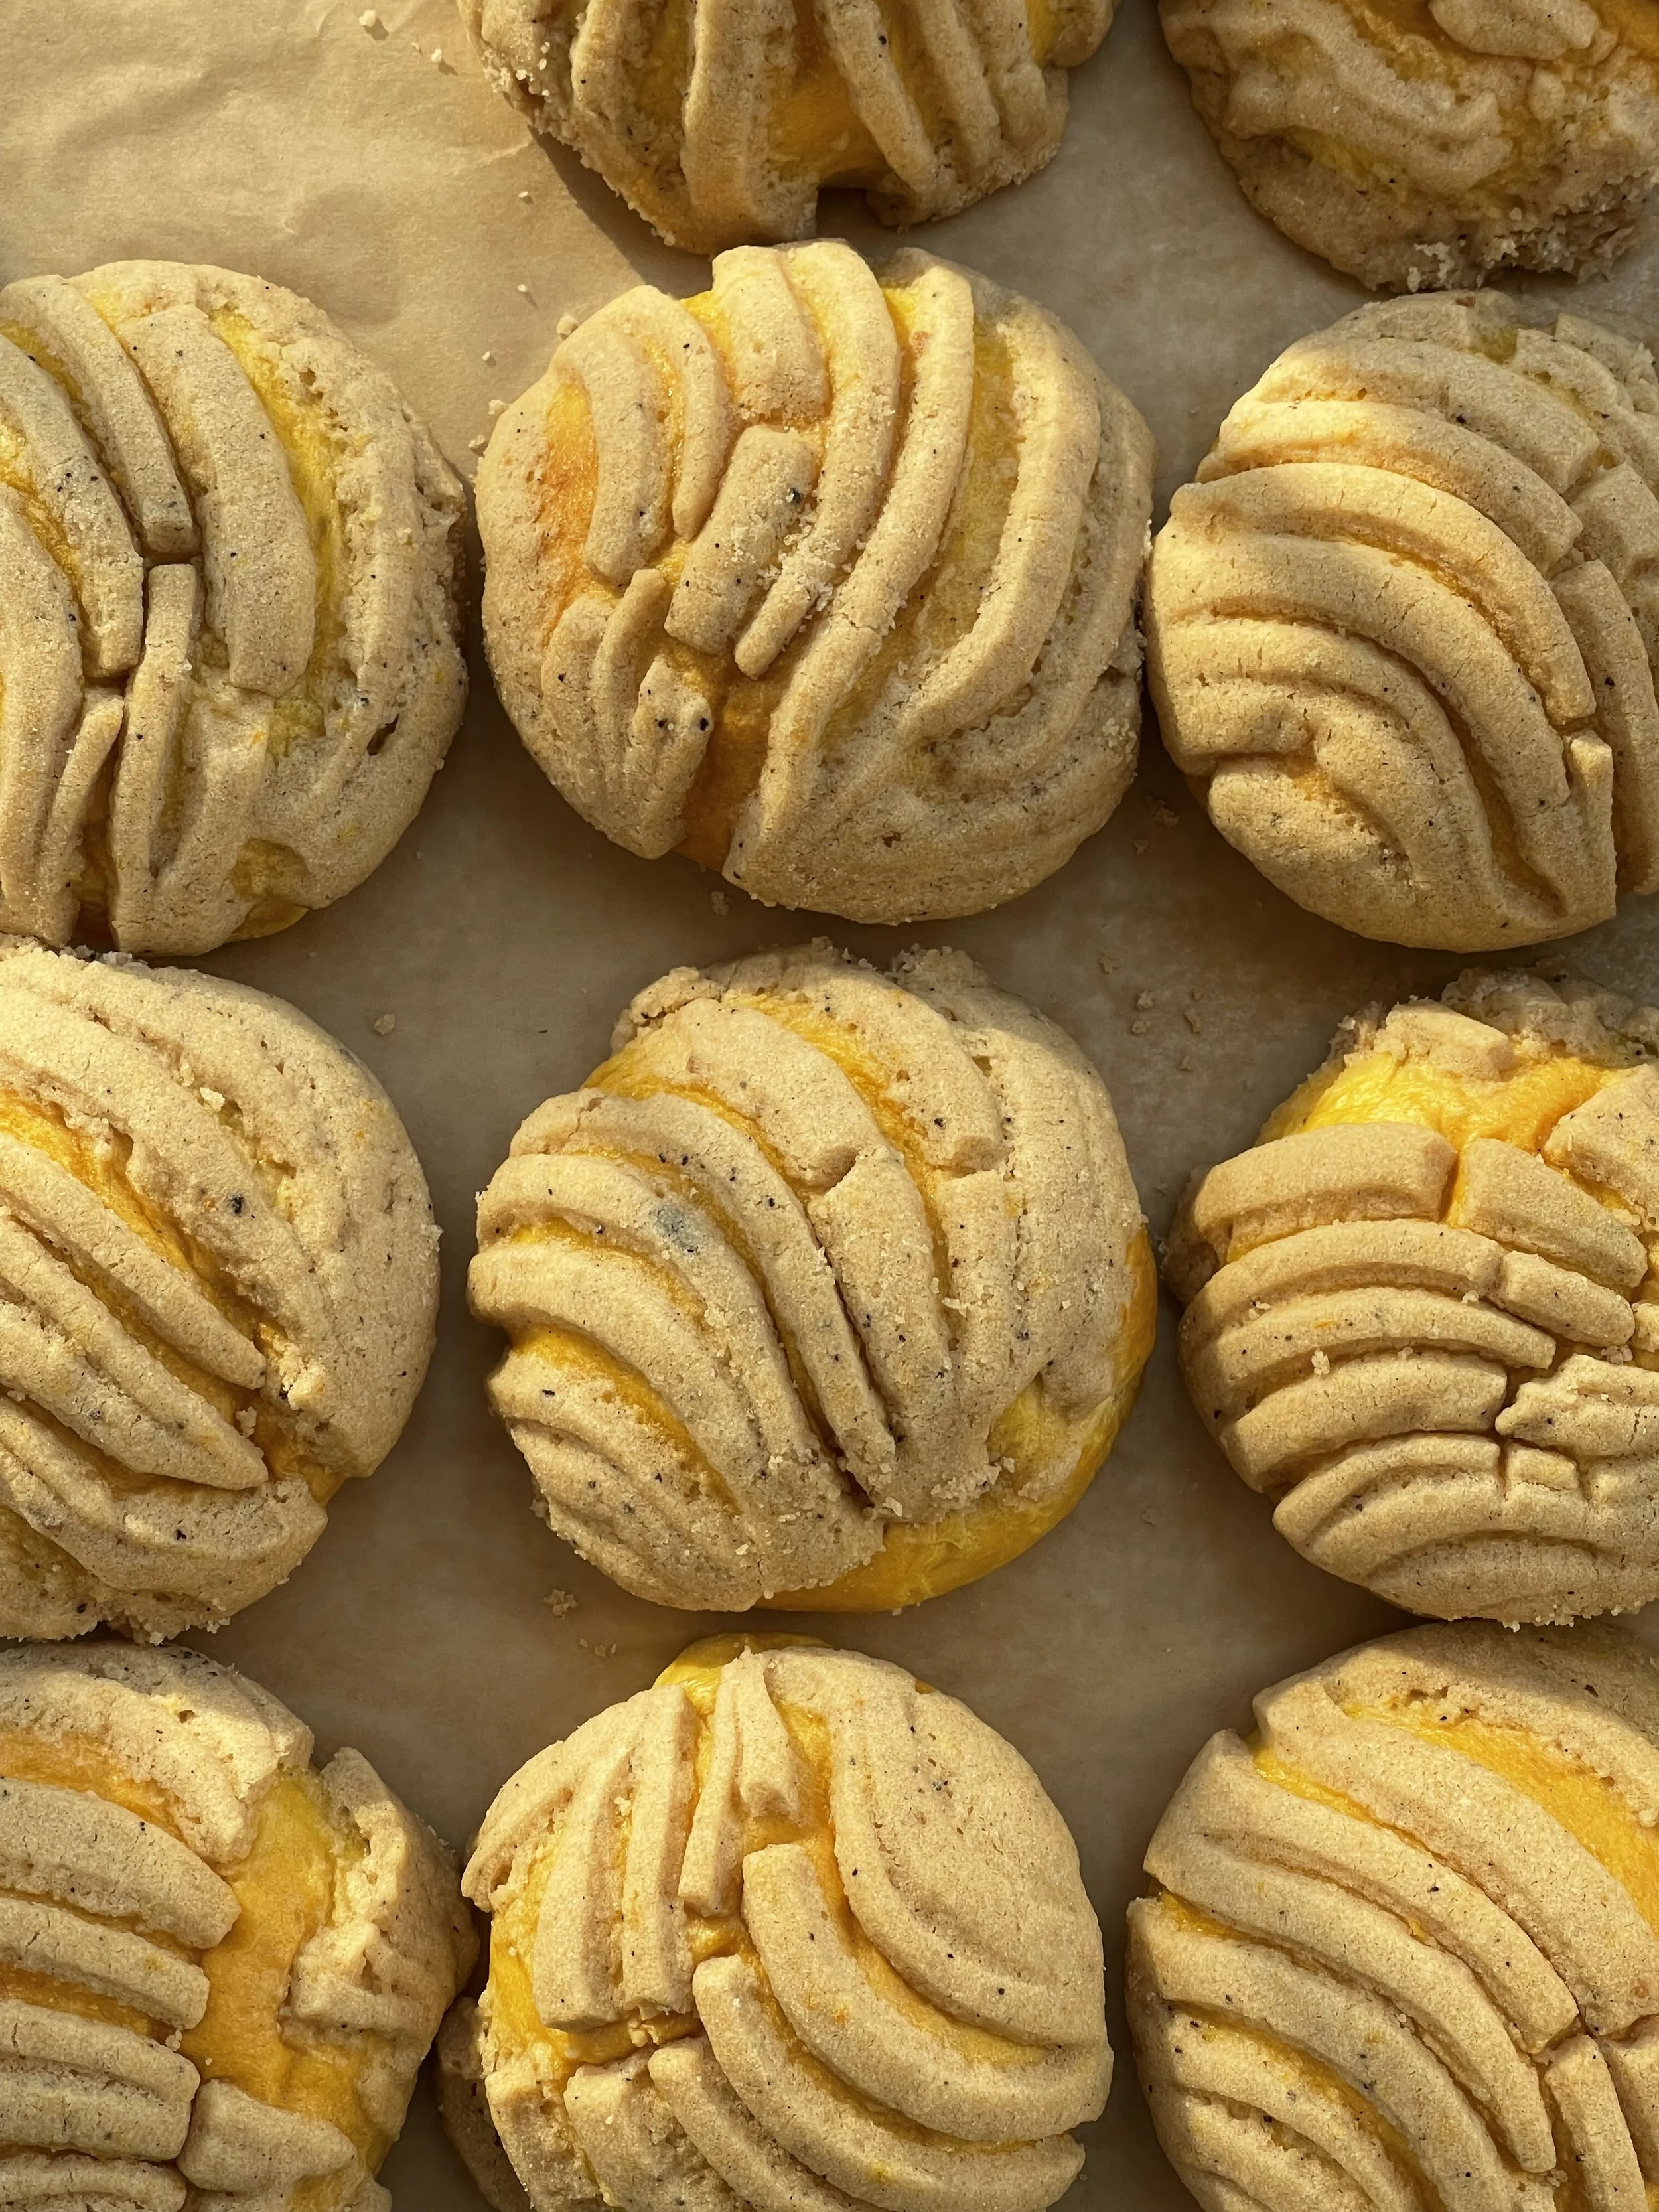
Pumpkin Brown Butter Tangerine Conchas
Canned pumpkin puree replaces the eggs that are typically in this dough. Make sure to get canned pumpkin puree and not pumpkin pie filling, which is a different ingredient entirely. Pumpkin puree is usually sold in a 15 ounce can, which means you will have just shy of 1 cup of puree leftover. I know that is very annoying; please find it in your heart to forgive me for my sin. Conchas are meant to be shared with others like the gift that they are; eat some and give some away.
Pumpkin Brown Butter Tangerine Conchas
Yield: 14-15 conchas
Total proof time: 3-3 ½ hours
Bake time: 23-25 minutes
8 grams active dry yeast
77 grams (about 1/3 cup + 1 tablespoon) light brown sugar, divided
110 grams (about 1/2 cup) milk, warmed to 105F
500 grams (about 4 1/4 cups) bread flour
1 ½ teaspoons warming spices such as ground cinnamon/nutmeg/allspice
200 grams (about 1 cup) canned pumpkin puree
½ tablespoon kosher salt
113 grams (1 stick) cold unsalted butter
Zest from 1-2 small tangerines
Topping:
113 grams (1 stick) unsalted butter, browned and chilled to solidify
120 grams (1 cup) all-purpose flour
110 grams (½ cup) light brown sugar
Pinch of salt
Zest from 3 small tangerines
CONCHA DOUGH
(The night before you plan to make the conchas, brown the butter. Once browned, let butter cool completely at room temp before transferring to a heat-proof, airtight container. Place in your fridge so the butter solidifies. Remove from the fridge about 30 mins before you’re ready to make the topping.)
In the bowl of a stand mixer, add the yeast, warmed milk and 1 tablespoon of the brown sugar. Whisk to combine. Let the yeast bloom and get foamy, about 5 minutes. Once yeast has bloomed, add the flours, warming spices, the remaining brown sugar, and pumpkin puree. Set mixer to medium speed and mix with the dough hook attachment. Some flour may gather at the bottom of the mixer bowl, just scrape down the sides and bottom of the bowl with a rubber spatula. Sprinkle in the salt and tangerine zest now and continue mixing to combine, just an additional minute or so.
Turn mixer off while you prep the butter. Slice butter into thin pieces so it incorporates easily into the dough. Turn mixer to medium again and add the butter, a few pieces at a time, until it’s all been added. At this point the dough should be left alone to mix and do its thing for a good, long 15-20 minutes. The dough will go from shaggy and rough to smooth and elastic in this time. After 15-20 minutes, check for gluten development by performing a windowpane test (stretch a small piece of dough and hold it up to a light source, such as a window. If the dough stretches without tearing, it’s been sufficiently mixed. Transfer dough to a clean work surface and just give it a few kneads to combine into a round dough.
Rub cooking oil in the stand mixer bowl now; place the concha dough back into the bowl and cover with plastic wrap. Drape a clean kitchen towel over the bowl and place in a warm environment to rise until doubled in size, about 2 hours.
CONCHA TOPPING
While dough rises, make the topping: you can either make by hand or use a stand mixer. Add all of the ingredients, including the solidified brown butter to your bowl. If making by hand, gather and knead the dough until it reaches a Play-Doh consistency. If using a stand mixer, mix the topping dough on medium speed until it reaches a Play-Doh consistency. If it feels too wet, add more flour by the tablespoon; if it’s too dry/crumbly, add a bit of vegetable shortening (NOT lard) or softened butter a little at a time. Cover topping dough with plastic wrap and set aside.
SHAPE CONCHAS
Once dough has doubled in size, punch it down and transfer again to your clean work surface. Divide dough into 14-15 equally-sized pieces, about 69 grams each. It’s important that all the conchas are the same size so they proof/bake evenly. Cup your hand around one of the concha dough balls and roll your hand/concha dough in a circular motion. This creates tension with your work surface and will cleanly shape the dough into a ball.
Line two large baking sheets with parchment paper. Set concha dough ball on the baking sheet and repeat with remaining dough. Once all the dough has been shaped, flatten each gently with the palm of your hand. Make an egg wash with 1 egg yolk + a splash of water or heavy cream. Brush the tops and sides of each concha ball with the egg wash.
SHAPE TOPPING
Divide the concha topping dough into 14-15 equally-sized pieces, about 25-27 grams each. Using a tortilla press or a heavy dinner plate and a piece of plastic wrap (I find that the topping sticks to parchment paper), take one dough ball and flatten it to roughly 4-inches in diameter. This doesn’t have to be all that precise.
Drape the flattened concha topping over a concha dough ball now. Press down gently to secure, then score the topping to resemble a concha, or seashell. You can use either a concha cutter or a paring knife. Be sure to score the topping only and don’t cut into the concha dough itself. Repeat with the remaining pieces until all the conchas have their topping.
LAST PROOF
Cover each baking sheet with plastic wrap or clean kitchen towels and let conchas rise a final time in a warm environment until jiggly and doubled in size, about 60-90 mins. Keep an eye on them so they don’t overproof; they shouldn’t need any longer than 90 minutes.
BAKE CONCHAS
Heat your oven to 350F; bake for 23-25 minutes or until the undersides of the conchas are nicely browned. If you have an instant-read thermometer, the conchas should have an internal temp of 190F for a proper bake (insert the thermometer underneath the concha to test the temp). Let conchas cool slightly before devouring. These conchas will keep in an airtight container for up to 2 days after baking.